Comparaduns 02/21/2014 Photo Album
Every time I type the word comparadun, my spell checker goes crazy. What in the world is a comparadun?
When I began fly fishing in the 1980’s in Pennsylvania all the classic dry flies were created in the Catskill tying style. Nearly all mayflies were imitated with a fly consisting of a dry fly hook (Mustad 94840), fibers from a rooster neck hackle for a tail, a dubbed body, a wing made from wood duck flank feathers, and a hackle from a rooster neck wound around the hook shank behind and in front of the wings. The size of the fly and color of the dubbing and hackle were varied to match all the various mayflies that served as significant food to the trout.
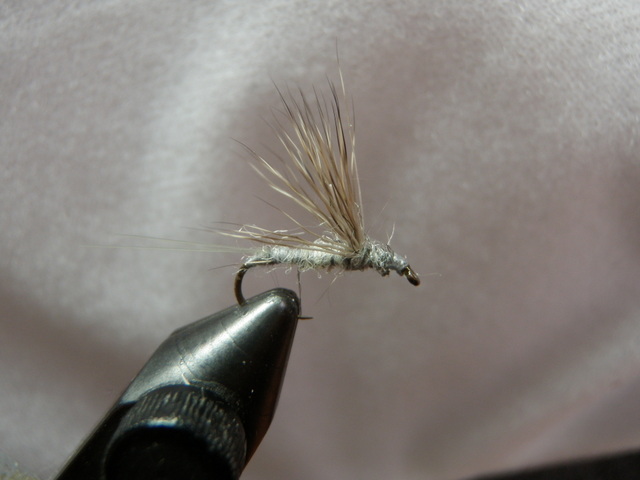
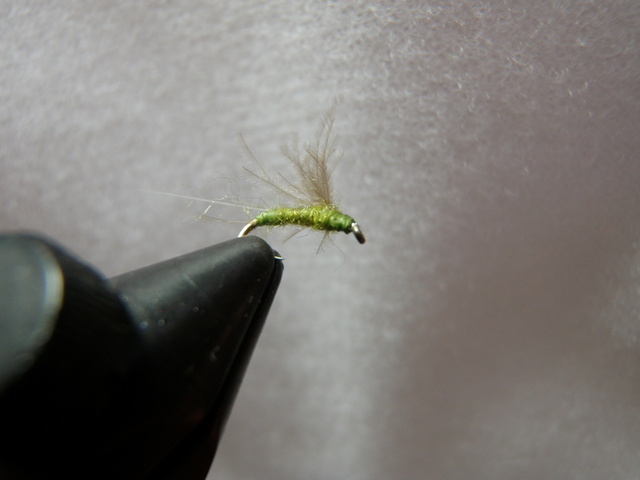
Another Side View
Sometime during this learning time period I purchased the book Hatches and read about the many types of mayflies and their unique characteristics and how to imitate them. The authors introduced a system of flies that they claimed could match most mayfly hatch matching situations, and they placed the prefix “compara” in front of their flies. For adult mayflies they offered a chart that consisted of four to six color combinations that could match a large percentage of the mayflies one might encounter. They also designed a style of fly that rode low in the surface film, and they claimed that this style presented a more precise silhouette of a mayfly dun particularly in smooth water. These flies were named comparaduns.
I quickly read all the chapters on the various mayflies that frequented the Northeast, but I continued to tie the Catskill style flies that required the purchase of expensive rooster necks with quality hackle feathers. I recall experimenting with a few comparaduns, but I didn’t like the appearance of my efforts using fairly undeveloped tying skills.
When I moved to Colorado I continued tying Catskill style dry flies; however, the variety of mayflies was much narrower in scope, so I didn’t need to tie nearly as many mayfly imitations as I did in Pennsylvania. In fact after hiring several guides I was introduced to nymphing with a strike indicator and began to experience a significant amount of success with this method. This also pushed me away from tying mayflies and fishing the surface.
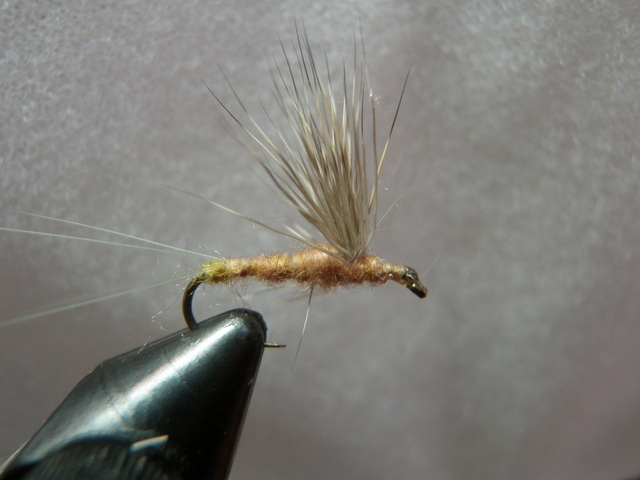
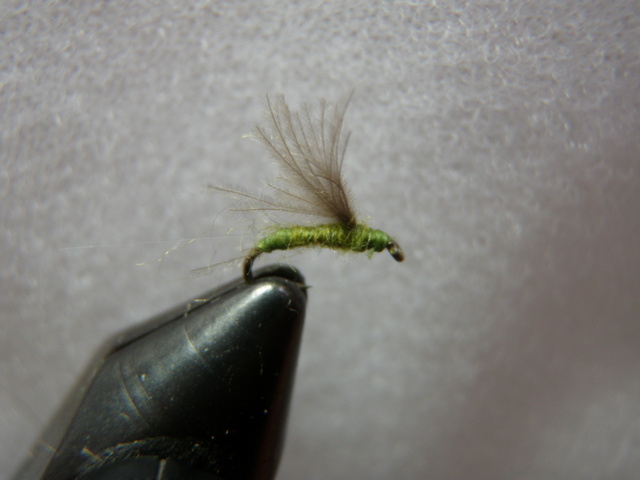
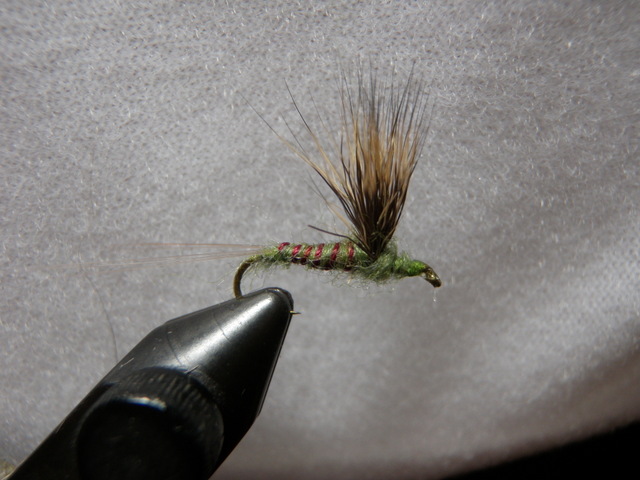
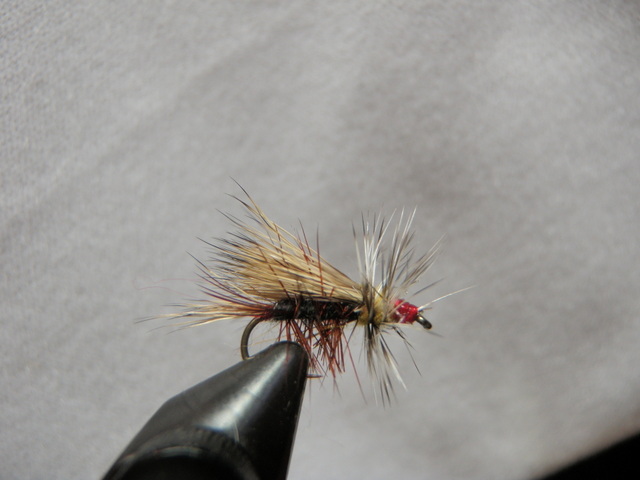
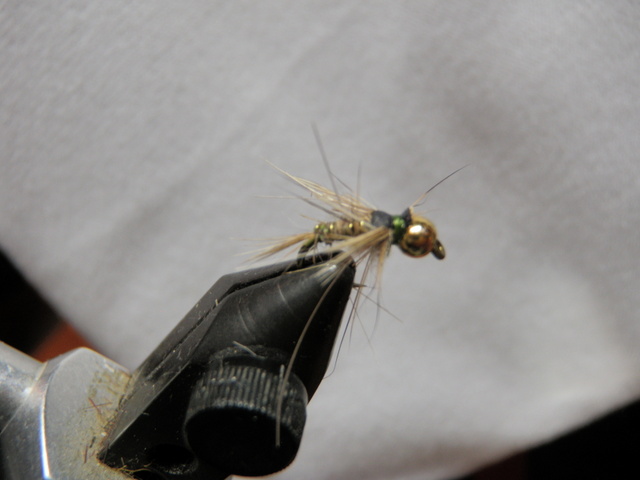
Cinnamon Comparadun
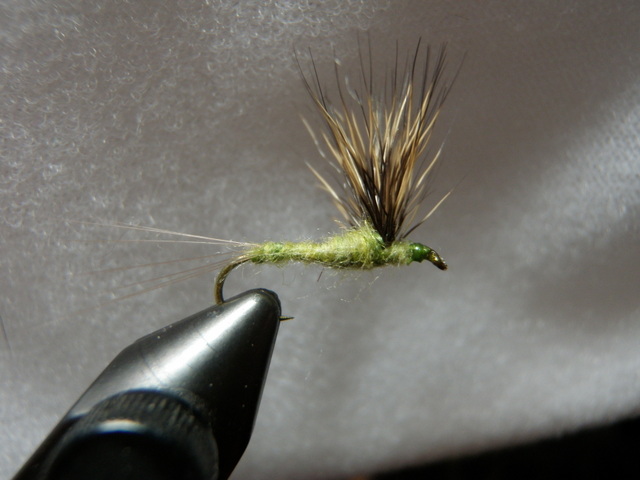
Fairly soon after our move to Colorado I began attending the outdoor exposition that is held in Denver every winter, and on one of these visits I watched Marty Bartholomew demonstrate how to tie a comparadun. This lesson motivated me to tie a few so I could reinforce the tips and lessons learned. The two keys to making a good looking comparadun are splitting the tail fibers so that they serve as outriggers to support the hackle-less fly, and being able to splay the deer hair so that it forms a semi-circle around the hook shank. The bottom fibers of the deer hair also help to support the fly. My early efforts ignored these two basics, and I ended up with ugly flies that would not stand up, and the wing typically leaned forward unlike natural mayfly duns.
Marty showed me how to split the tails so they V’ed outward from the end of the abdomen, but his major contribution was advice on forming the wing. He suggested purchasing coastal deer hair as it is much finer and easier to work with particularly on small flies; but the significant tip was to stop the dubbing short of the wing, and this left a small gap. This allowed the wing to slant slightly backward once the tyer wrapped the dubbing tightly in front of the wing; and then after the wing was positioned, he took a wrap or two behind the wing to fill in the space beneath the wing. What a difference this made! My flies looked like real mayflies with the wing cocked slightly toward the rear, and they floated nearly as well as Catskill style flies. Best of all, I no longer needed expensive neck hackles to form a collar on my flies.
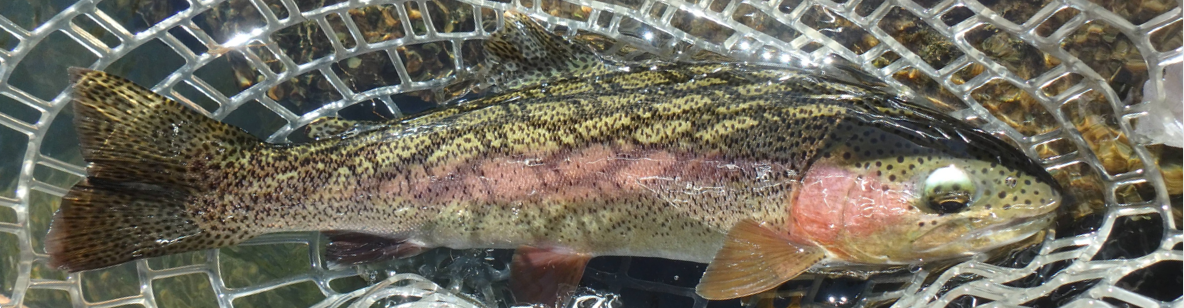
I now produced a nice batch of size 16 comparaduns, but I suspect they took up space in my fly box and were not utilized for a few years, until I encountered a strong pale morning dun hatch on the Colorado River. I tried some Catskill style PMD’s to no avail and in desperation reached in my box and extracted one of the size 16 light gray comparaduns. Much to my amazement this fly began to dupe brown trout like no other dry fly I had ever used. It didn’t take long before I became a disciple of the comparadun, and I began to tie them for pale morning duns, green drakes, and various eastern mayflies prior to infrequent return visits to Pennsylvania.
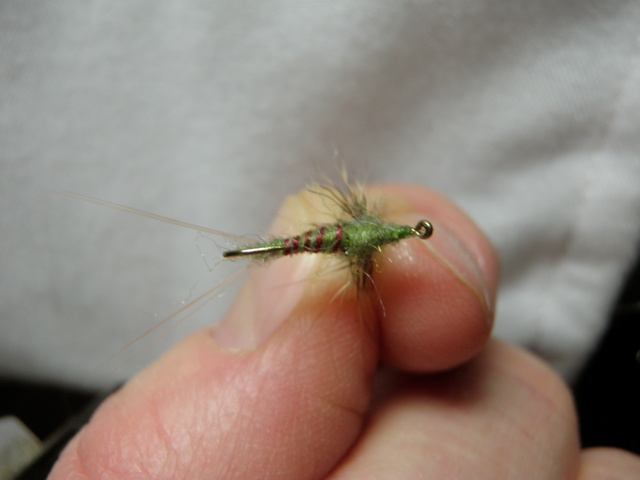
The final step in my comparadun evolution was the discovery of microfibbets. Microfibbets are synthetic fibers that take the place of hackle fibers. One buys them as bunches and they are dyed various colors, and they look like very fine monofilament or bristles from a synthetic paint brush. Microfibbets are much stiffer than hackle fibers and make even better outrigger tails for supporting comparaduns.
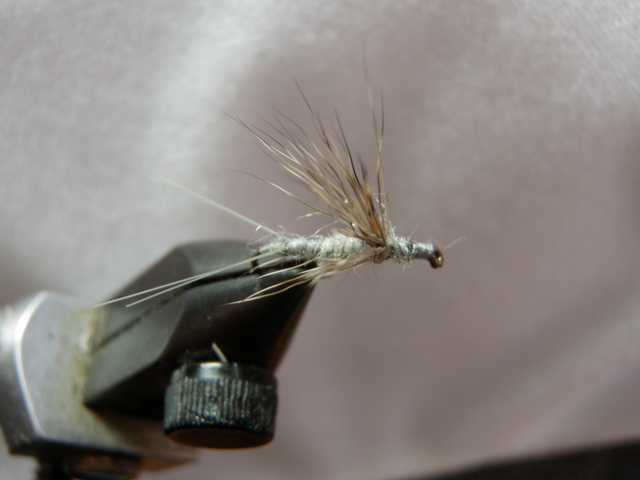
Good View of Split Microfibbet Tails
My supply of light gray comparaduns dwindled a bit over the last two summers, so I visited my fly tying desk and cranked out 28 new imitations over the last week or two. I tied them in sizes 14, 16 and 18 and made an equal number of light gray and cinnamon versions. During a visit to the Frying Pan River in September 2013 I discovered that the educated trout in that fabled river were selective to pale morning dun imitations with a cinnamon body, and the size of the late season PMD’s seemed to be on the small side, thus the size 18 flies.
There you have it. My evolution to a comparadun fan, and where I’m focusing my dry fly tying efforts in 2014.