Better Woolly Bugger 03/29/2020 Photo Album
I completed my normal production tying for 2020, and my bins contained adequate quantities of my favorite patterns for the upcoming season. The corona virus continues to require self quarantining and compliance with the stay at home orders, and this in turn curtailed my usual progression of outdoor activities, so what should an avid fly fisherman do?
I subscribe to six fly fishing magazines, and I accumulated a twelve inch stack of back issues in my office closet. I saved them, because I planned to flip through them and scan articles to retain electronically, before I relegated them to the recycling bin. I adopted the practice of scanning articles that pertain to fly patterns of interest and new fly fishing destinations, that I might visit. Storing electronically conserves shelf space, and I find it easier to find articles with the search capability of an electronic device. During the covid19 pandemic I reviewed roughly half of my stack of back issues and scanned quite a few new fly patterns, and I decided to begin the project of tying small batches of intriguing designs.

Fish Will Love It
The spin doctor was the first example of my new project, and I was quite pleased with the foam topped mayfly spinners. The next pattern that appeared in my scanned backlog of flies was called a better woolly bugger. The step by step instructions as presented by Tim Flagler appeared in Fly Tyer Magazine, and I was curious to learn why it was defined as a “better” woolly bugger. I knew from following Tim Flagler on my Trout Unlimited weekly newsletter, that he created a large inventory of fly tying videos, and after a brief search I found the YouTube content that corresponded to the article in Fly Tyer. I personally view Tim Flagler as one of the better tying instructors in the fly fishing world, as he seems to have a knack for simplifying the steps, and he speaks with great clarity. In short his tying videos are succinct, well thought out, and very clear.
| Fly Component | Material |
|---|---|
| Hook | Mustad 3665A Size 8 Limerick |
| Thread | 3/0 Olive |
| Weight | .02 Non-Lead |
| Tail | Olive Marabou |
| Flash | Silver Crystal Flash |
| Hackle | Large Grizzly Hackle |
| Body | Small medium olive chenille |
With this background I assembled the necessary materials and manufactured five better woolly buggers. I tied numerous woolly buggers in the past, and they are typically a fairly easy tie. In fact most beginner classes start with a woolly bugger. All my buggers were constructed with medium olive tails and bodies along with olive grizzly hackle. I utilized a conehead bead, as it was the only type available in my drawers that would slide around my old Mustad size 8 streamer hooks. In the end I actually deviated from Tim’s method, and hopefully that does not disqualify my fly as “better”. He demonstrated tying a woolly bugger by tying the hackle in at the head of the fly and then palmered it over the chenille body to a point just in front of the tail, where he left the thread and bobbin dangling. He then counter wrapped the thread back through the hackle wraps to the head of the fly. I was not comfortable with the counter wrap, so I tied the grizzly hackle in by the tip in front of the tail and then advanced the thread forward to the conehead, where I then tied off the base end of the feather, after I palmered it forward. Otherwise, I liked his method of sizing and pinching off the tips of the marabou clump, and I appreciated his technique for tying in the crystal flash strands along the sides of the tail. I also wrapped non-lead wire around the forward portion of the hook shank to add weight, just as he demonstrated on his sample fly.

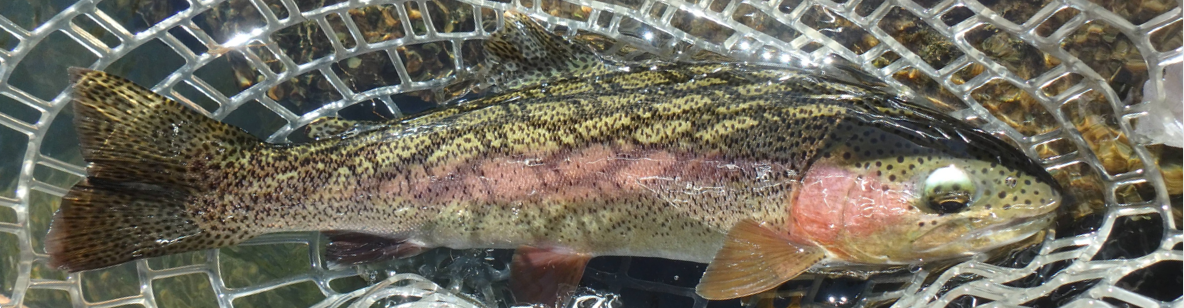
Lots of Olive Here
I was pleased with the results, and you can view the output in the embedded photos in this post. Now, I need to train myself to adopt streamer fishing on a more frequent basis to take advantage of these expert ties.