Bright Green Caddis Pupa 01/26/2014 Photo Album
Emerald Caddis Pupa 01/26/2014 Photo Album
Caddis are very prevalent on all Colorado rivers and in fact in nearly every river and stream that I’ve fished. Caddis adults are easy to recognize due to their wing folded like a tent over the abdomen and their erratic style of flying above the water. I’ve experienced some great outings when caddis are the preferred surface food, and on many of these occasions an active drift is required to initiate a take by the fish. The fish recognize the fluttering caddis and selectively seek movement in their prey.
Trout may devour even more subsurface caddis in the form of larva and pupa, but this activity is much more difficult to recognize as we fishermen cannot readily see the actions of fish beneath the surface. Through many years of experience and by reading reports and suggestions from the experts at fly shops, I have managed to achieve some level of success using caddis pupa. The period of time in April before the major caddis emergence on the Arkansas River is my main workshop, and the caddis pupa has proven to be a great fly to entice takes during this period.
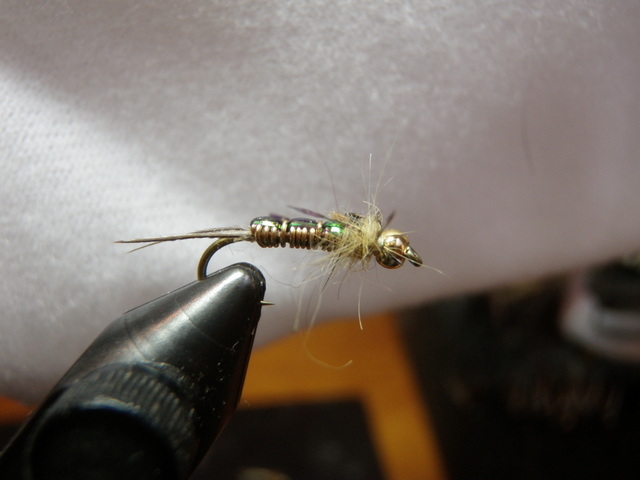
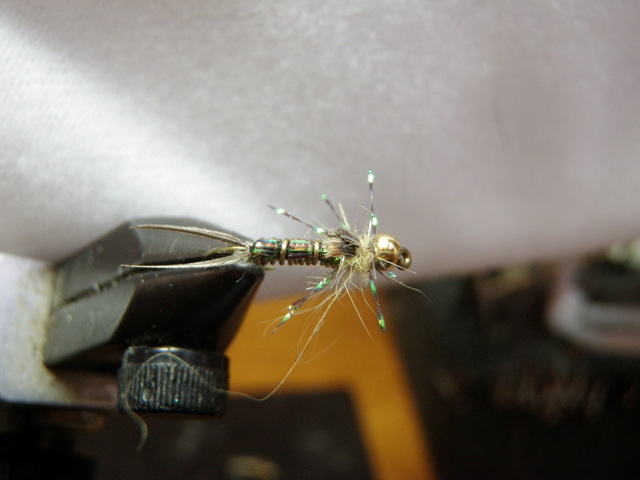
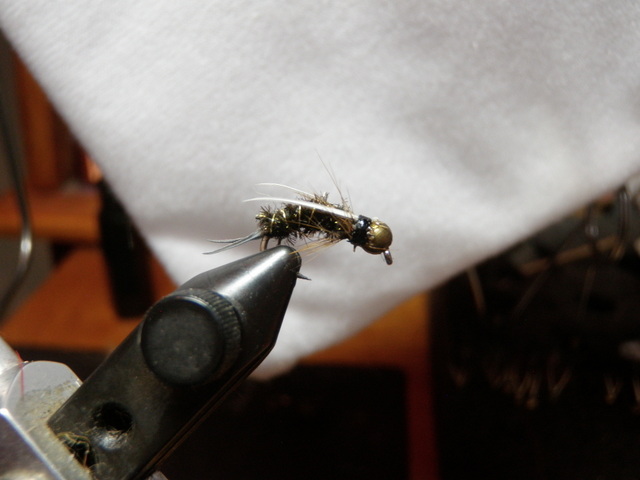
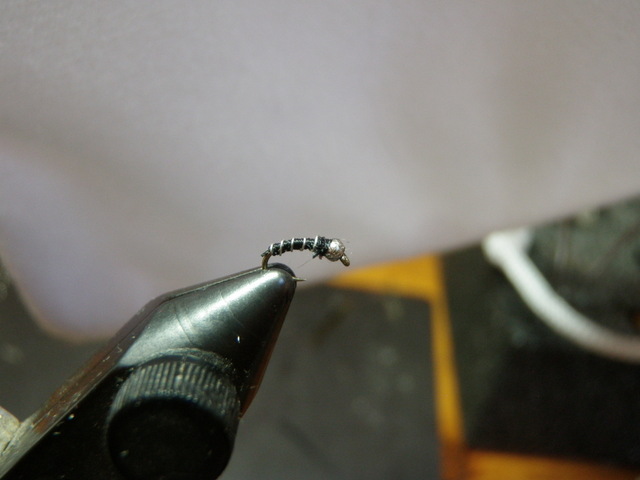
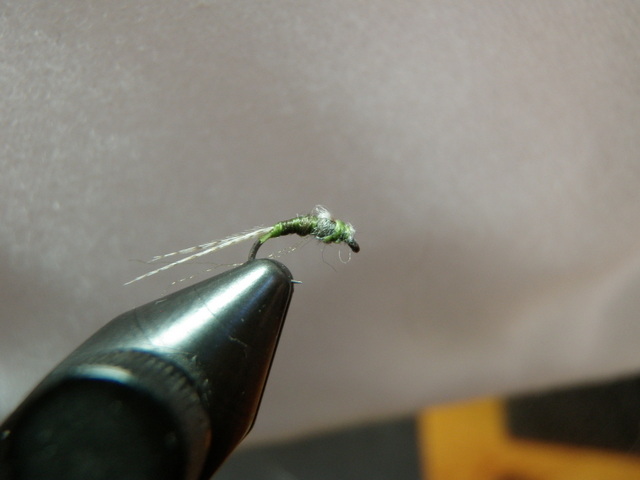
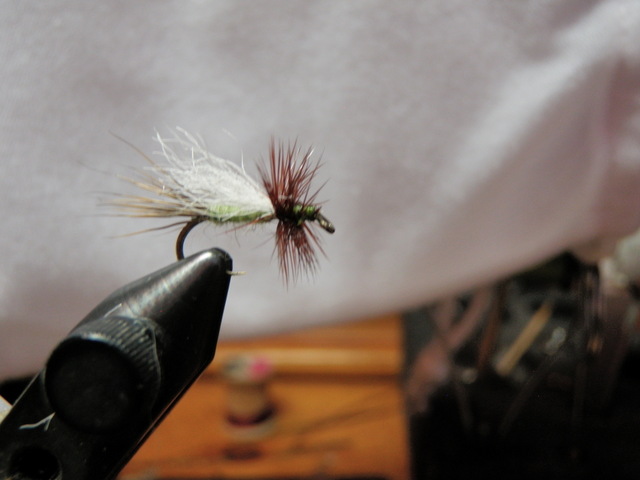
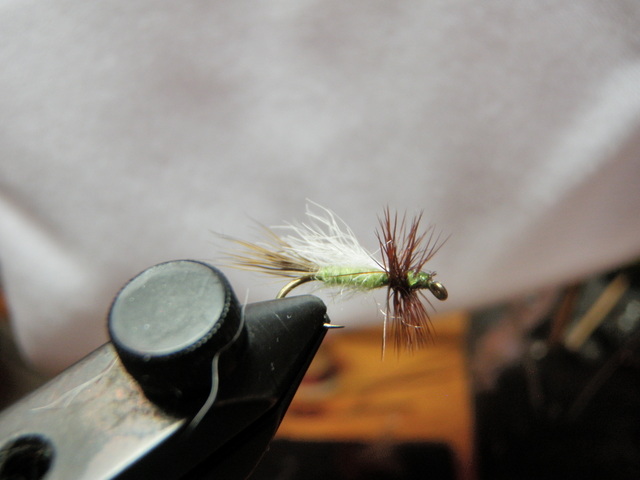
Bright Green Caddis Pupa
The bright green caddis pupa which imitates the grannom caddis typically represents my strongest producer, particularly in the weeks closest to the main emergence of the adults. I have discovered that the best time to fish the bright green caddis is from 11AM until around 3PM, and success depends to a large degree on imparting movement to the fly. I typically fish a two fly system with a strike indicator and split shot during this time period with the bright green caddis on the point and either a caddis larva, emerald caddis pupa, or prince nymph as the upper fly. In some instances I fish the bright green caddis in combination with a RS2 since BWO hatches may overlap with caddis activity.
To provide movement to the pair of flies I use two techniques. If I cast directly upstream, I continually raise and lower my rod tip as the flies tumble back toward me. This creates the illusion of a rapidly emerging caddis pupa, and I’ve experienced quite a bit of success with trout grabbing the rising fly.
The second technique contradicts one of the universal laws of fishing; mend the line to allow the fly to flow naturally with the current. When fishing the bright green caddis pupa, I do the opposite and mend the line with the current. This generates a quick acceleration of the flies, and many times the fish slash at the pupa imitation thinking it is emerging and escaping their jaws.
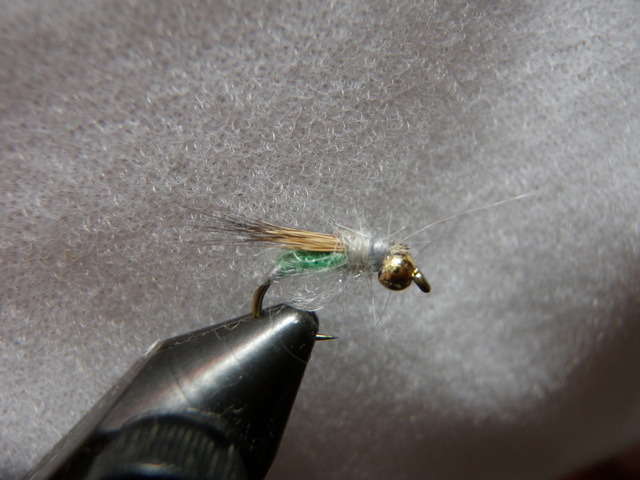
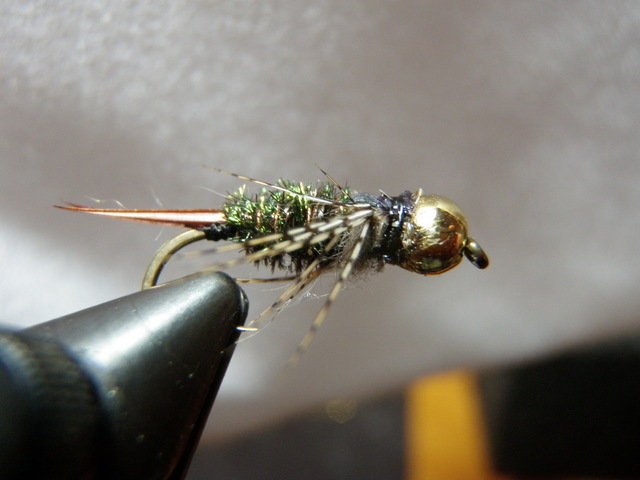
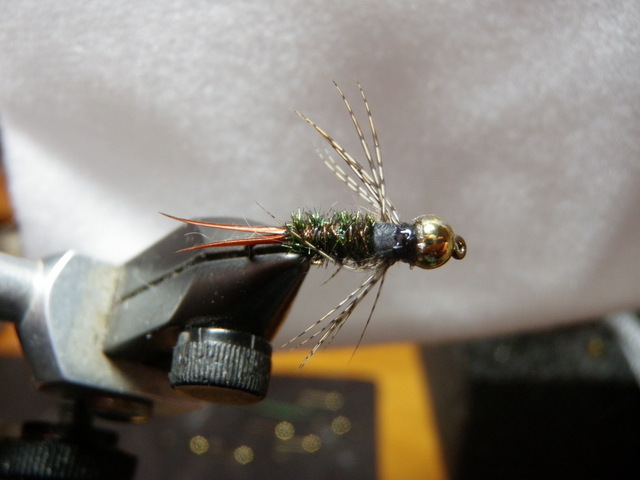
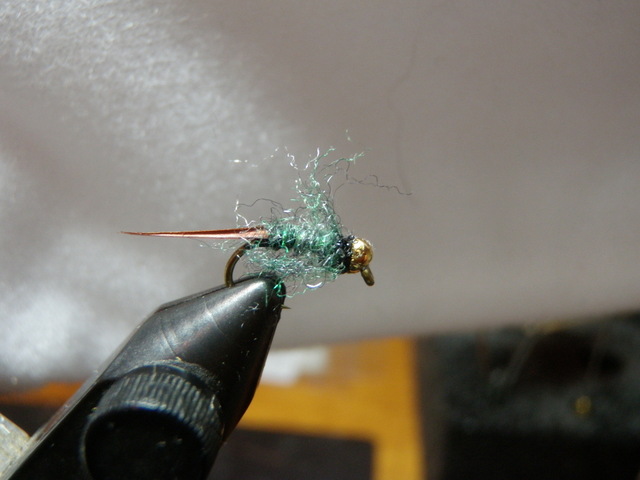
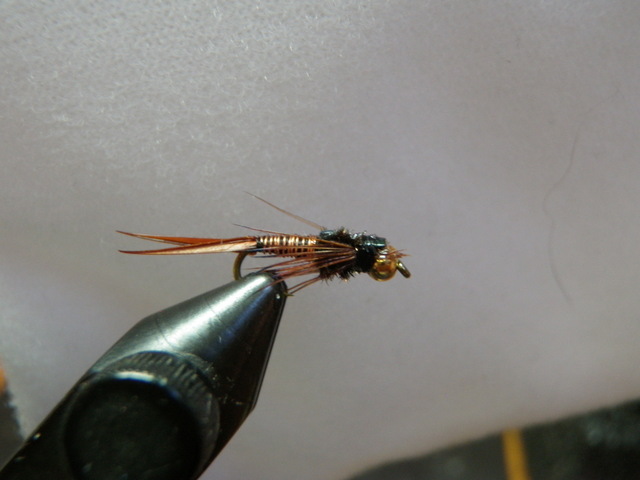
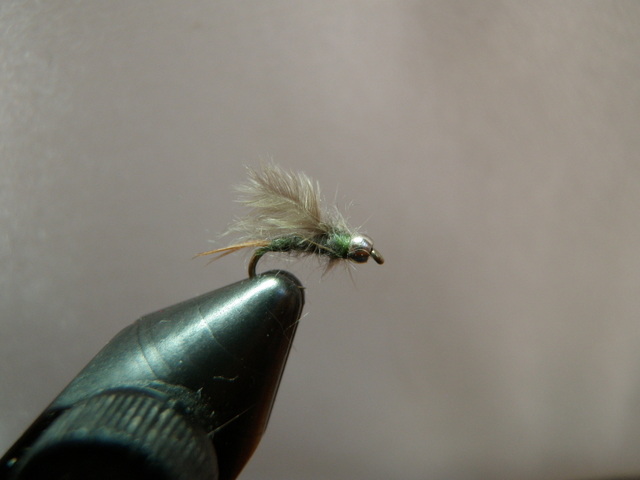
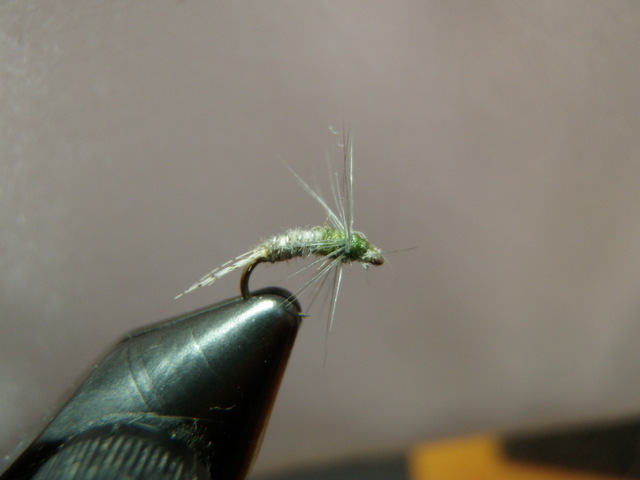
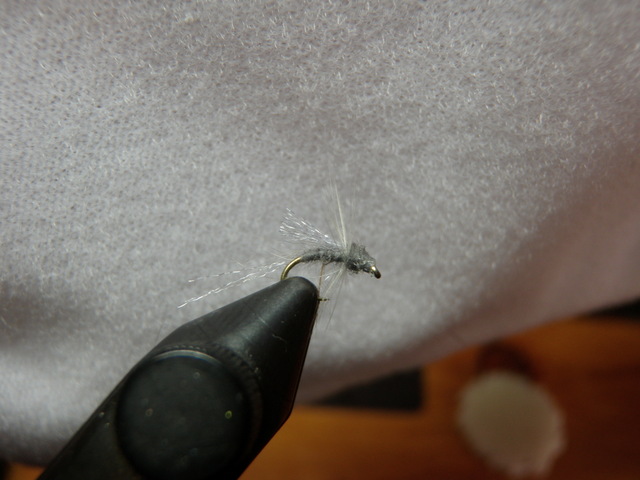
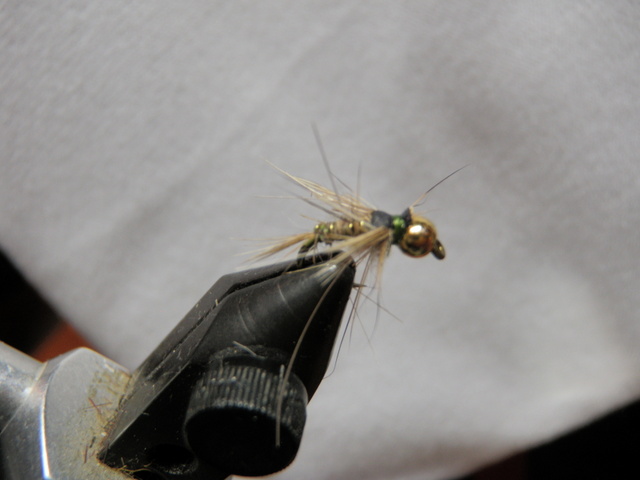
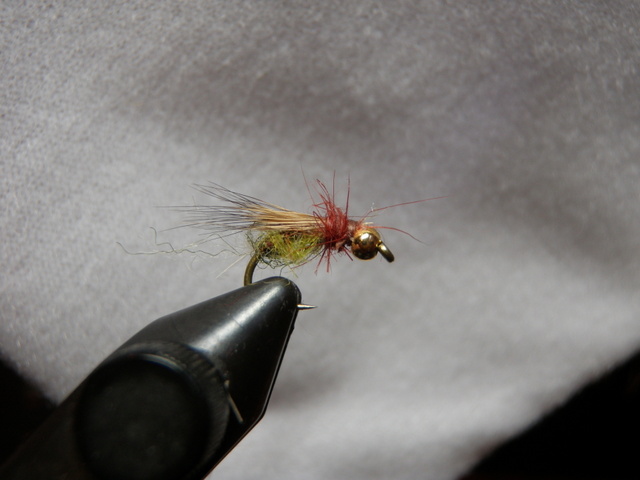
Emerald Caddis Pupa
The emerald caddis is effective during spring, summer and fall but it doesn’t generate the frenzied feeding that corresponds to the bright green caddis and the April emergence. The emerald caddis is more of a distance runner compared to the sprint of the bright green caddis. I’ve caught several adult caddis that had a tinge of emerald color on their abdomen, so I believe that the emerald pupa offers a color that the fish have seen and recognize as a tasty meal. I can recall numerous instances when the water seemed dead in late afternoon, and I’ve tied on an emerald caddis and landed a few fish that snatched the pupa as it began to swing at the end of a drift.
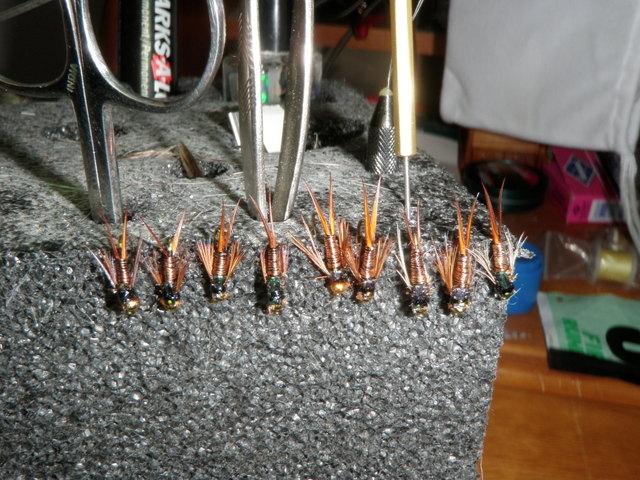
These two flies are definitely solid producers, and I always attempt to enter a new season with a generous supply from which to draw. For 2014 I tied twelve bright green caddis to bring my inventory to 50, and then I added six emerald versions to my carry overs to reach 30 as spring approaches.
Like this:
Like Loading...