Category Archives: Terrestrials

Pool Toy – 02/14/2014

Pool Toy 02/14/2014 Photo Album

As I mentioned in my recent post on the Chernobyl Ant, I continually search for new hopper patterns that are more buoyant than a Letort hopper but also equally effective. So far I haven’t been very successful, but a guide I used in 2012 recommended a pool toy as the best hopper pattern. I tied some prior to the 2013 season and experimented with the resulting foam grasshoppers during the past season. Pool toys are definitely more buoyant, and I liked the ability to suspend large beadhead nymphs from these large foam creations. Pool toys are also highly visible due to the indicator and light color foam.

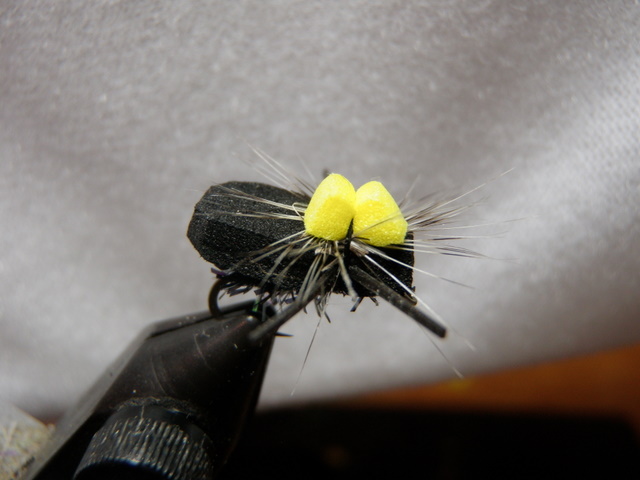
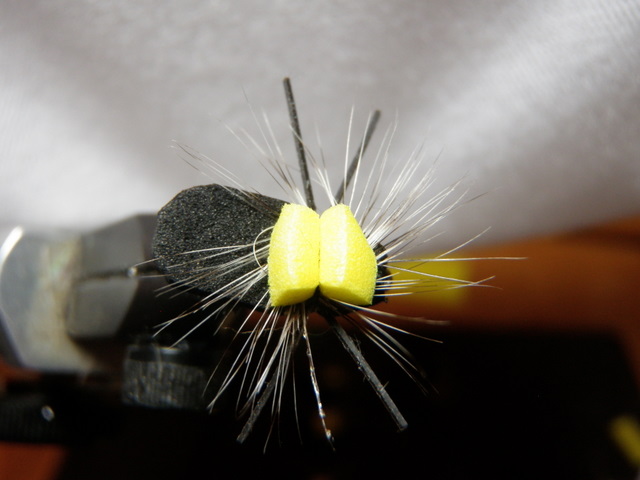
Top and Side

Top and Side

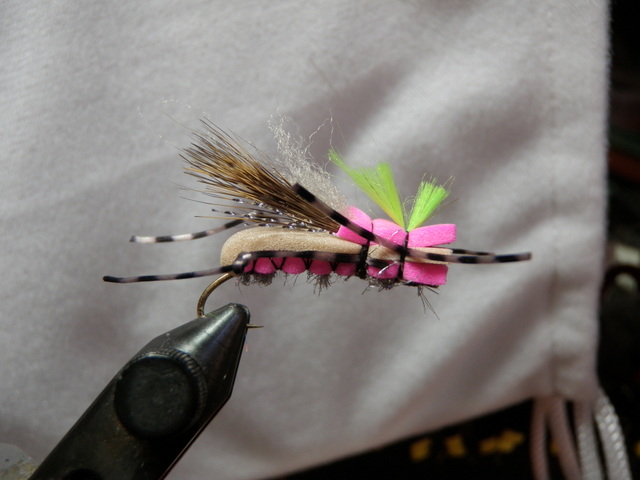
Unfortunately I’m not yet willing to say that pool toys catch as many fish as Letort hoppers. I probably didn’t fish a pool toy as much as I should have due to a lack of confidence in a new fly, and perhaps that explains the limited success. I can remember a few occasions when the size 10 yellow pool toy produced as well as a few cutbows gulping a pink version on the White River.

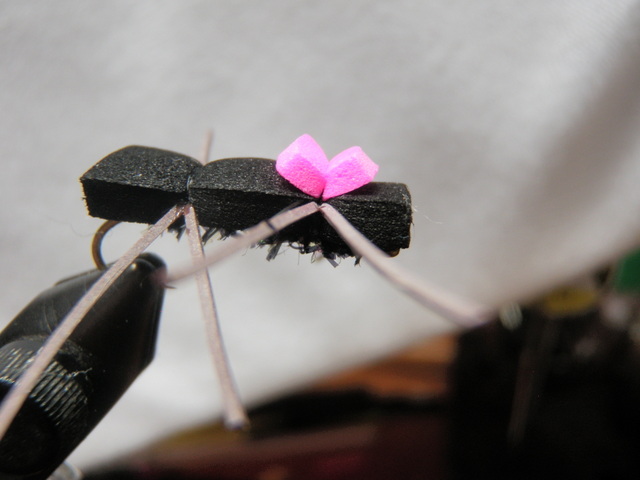
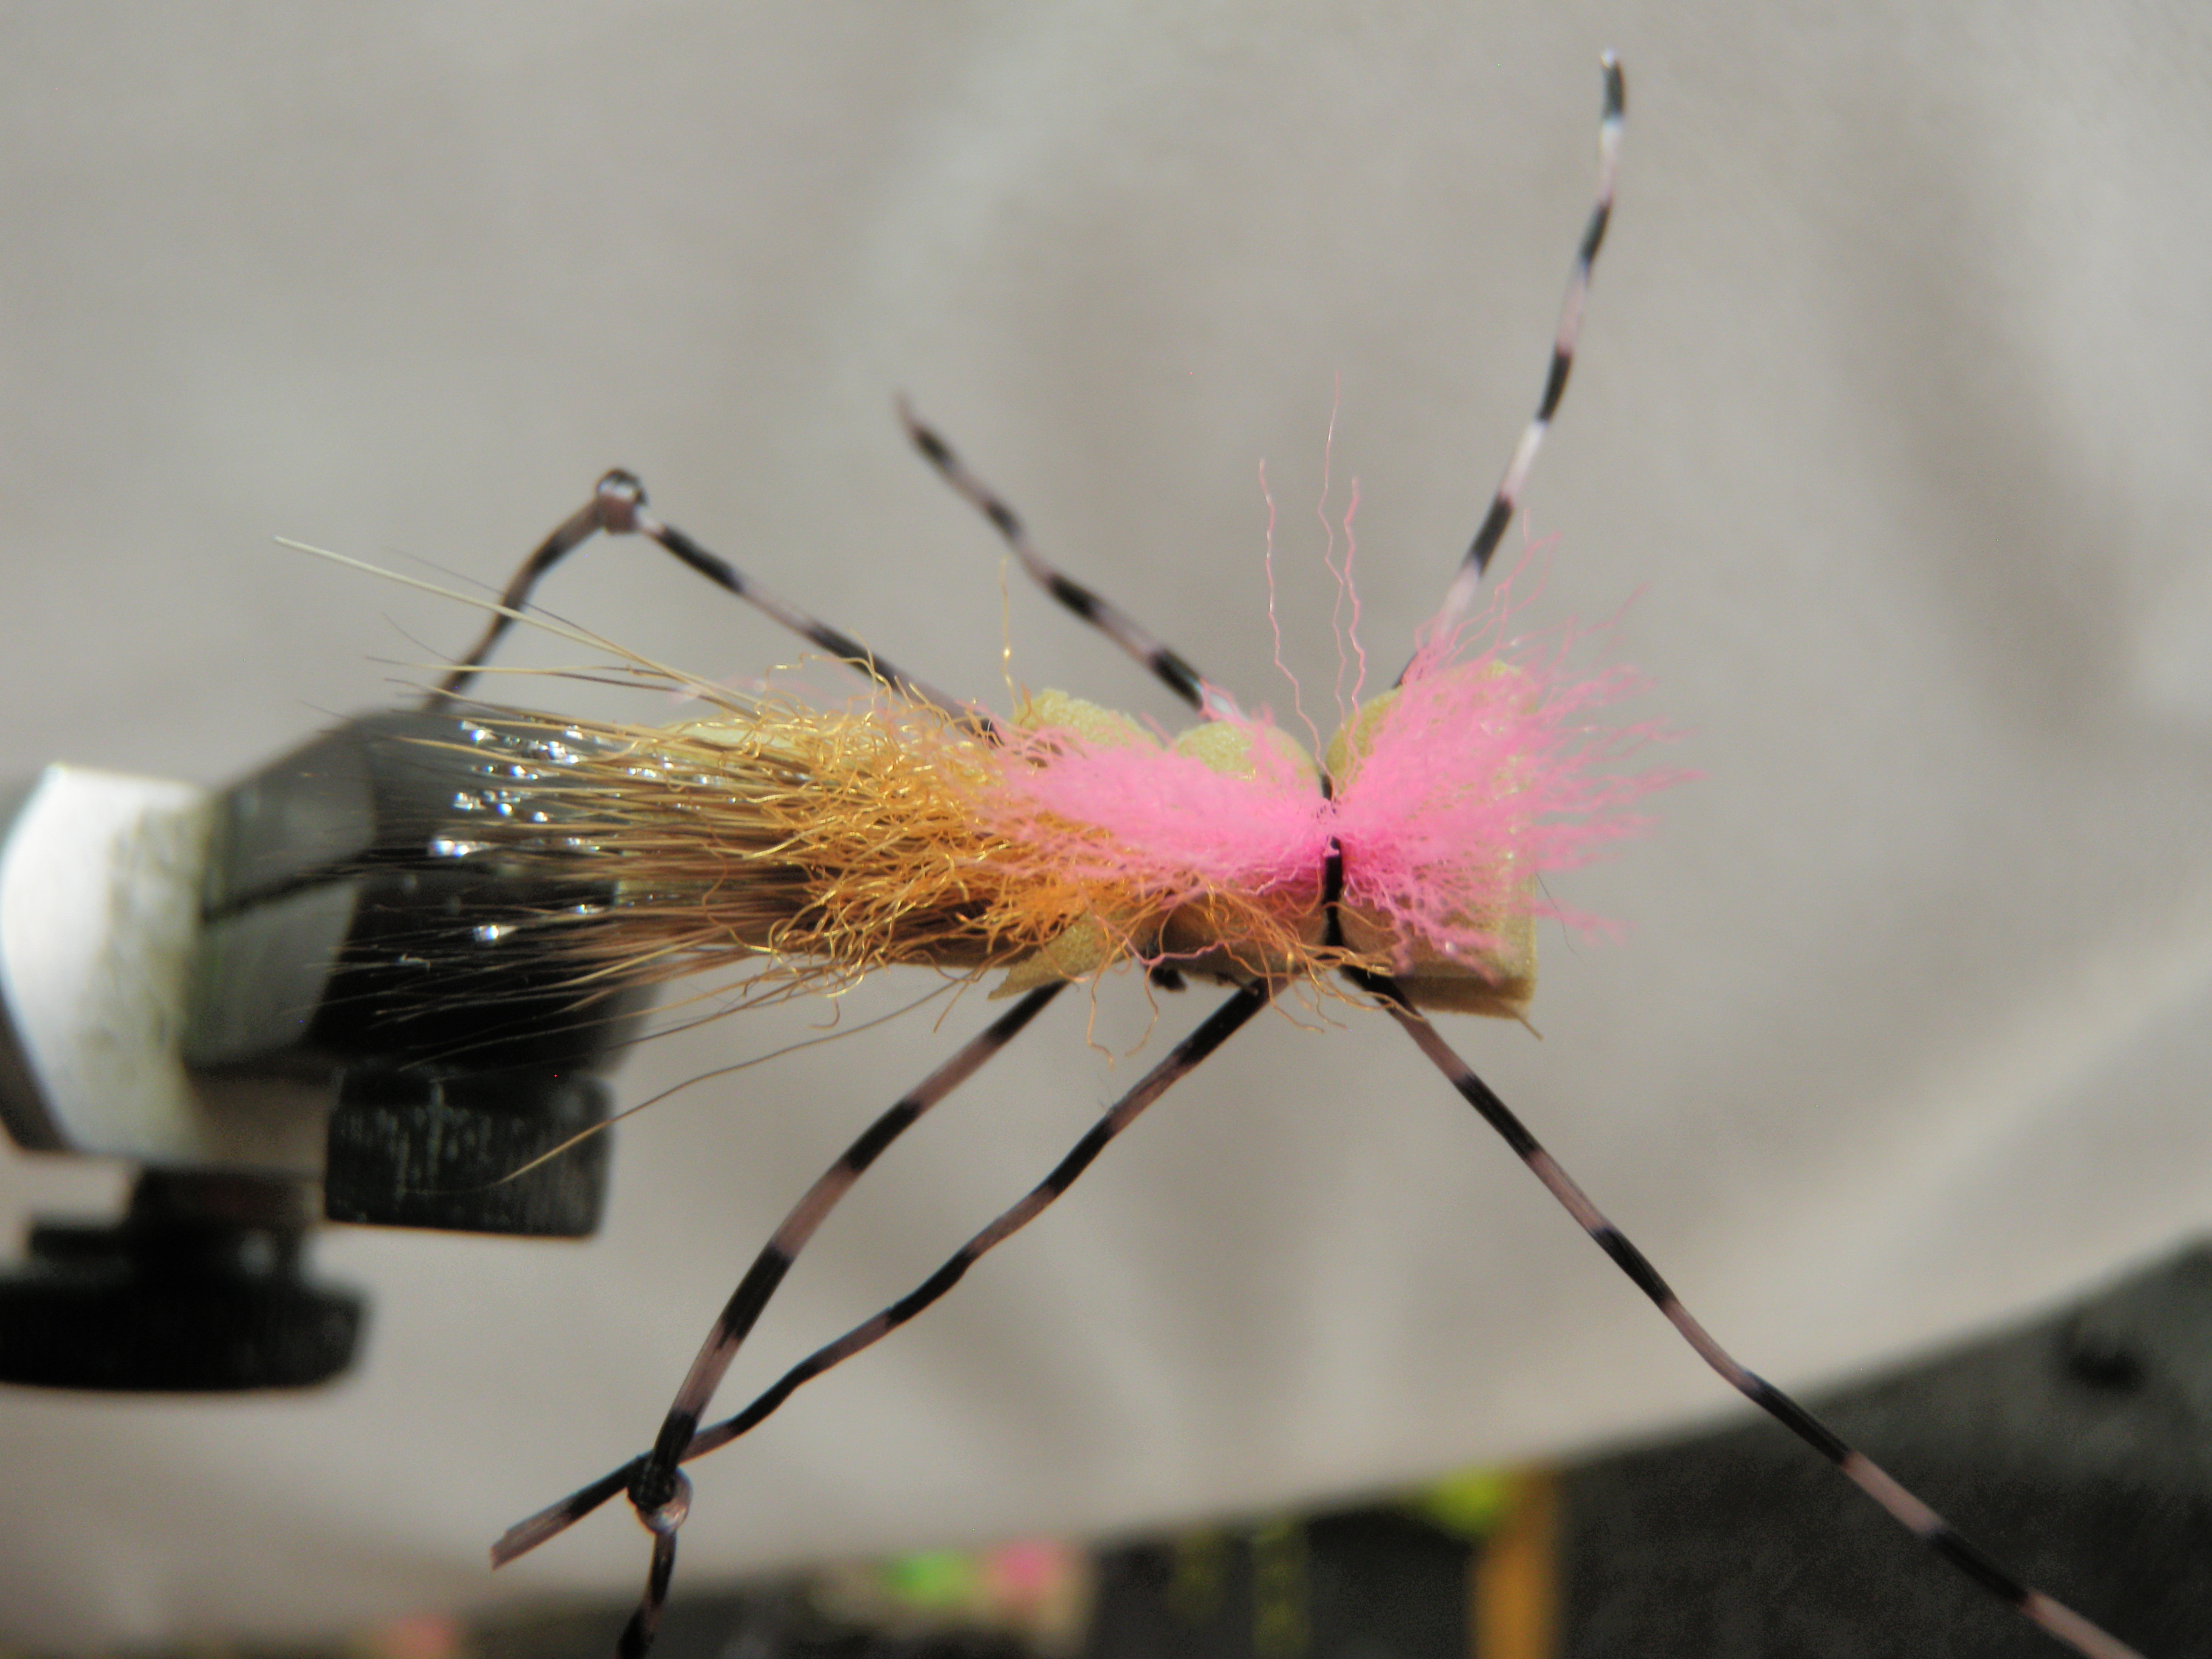
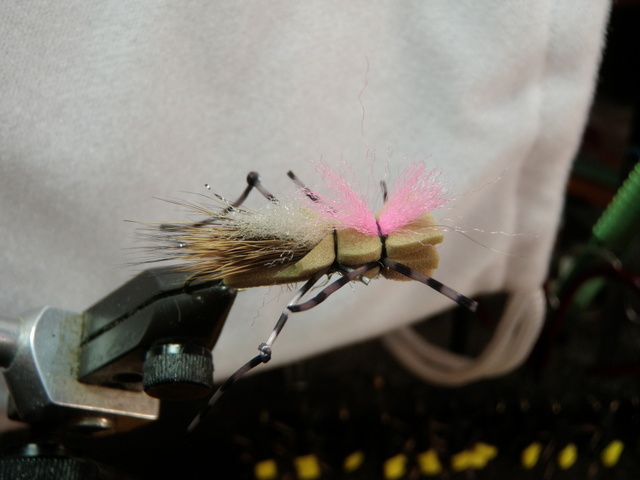
Pink Pool Toy

Pink Pool Toy

Because of the buoyancy and visibility, I decided to tie a few more pool toys in 2014 to add to my remaining collection from 2013. I made three tan pool toys and one pink. I’ve settled on barred sexilegs as the preferred material for appendages. I also used gray ice dub as the underbody as outlined in the material recipe from the originator, Andrew Grillos; whereas, I used a rabbit fur dubbing for the underbody on the versions I tied in 2013.

I will try to recommit to pool toys as my hopper imitation of choice in 2014. I will particularly try to test them in August and September, the prime grasshopper fishing months in Colorado.

 

Parachute Hopper 2013

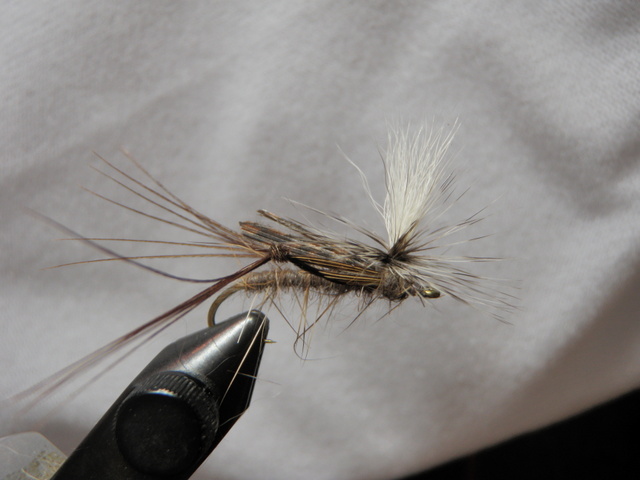
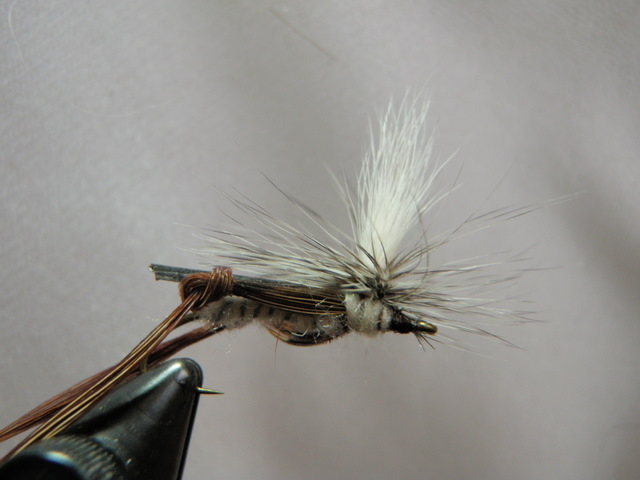
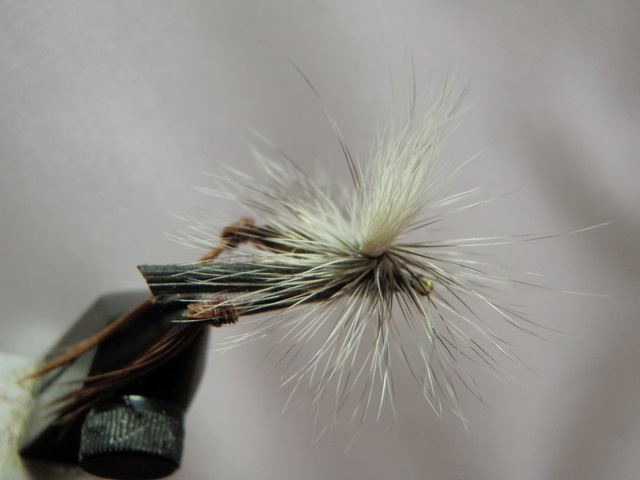
My late summer hopper of choice in the last couple seasons has been the parachute hopper. The parachute style enables this fly to land right side up on every cast and the prominent knotted pheasant tail legs along with the oversized hackle seem to appeal to trout looking for a substantial meal. For some reason the gray body parachute hopper seems to appeal more to August and September feeding trout than the yellow hopper imitations that shine in June and July.

Parachute Hopper 2013 Photo Album

Imitates Struggling Hopper from Above

Imitates Struggling Hopper from Above

The parachute hopper has also become a favorite of my son. On several occasions Dan has fished lakes and streams when his father was not accompanying. When he tells me about the outing later I always ask what fly he used as I am curious to see what he selects when I am not present to influence his decision. Quite often his answer is a parachute hopper, and typically the fly generates positive results.

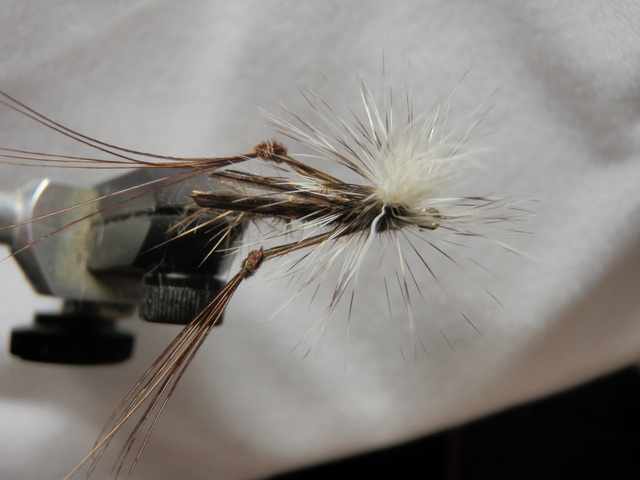
Trout Love the Scraggly Hares Ear Body

Trout Love the Scraggly Hares Ear Body

During the summer of 2012 I made another interesting discovery, primarily on the Taylor River where the parachute hopper was extremely productive. Near the end of the 2011 season I tied some gray parachute hoppers using a gray poly dubbing with a visible rib and these looked quite realistic compared to the undersides of naturals that I plucked from the grasses along the river. In addition to these sleek gray poly hoppers, I also tied some using natural hares mask, and these were extremely scraggly with numerous guard hairs protruding in odd angles from the rough body of the fly. My amazing discovery on the Taylor as well as other Colorado Rivers was that the trout preferred the scraggly disheveled hares ear hopper.

With this discovery I am tying twenty hares ear parachute hoppers for the 2013 season. Hopefully the fish don’t change their preferences over the winter.

After tying 20 new parachute hoppers, I decided to go through my cache of discarded flies that are unraveling or too damaged for continued service. I discovered six parachute hoppers in need of repair and refurbished them and, therefore, I have 26 as I enter the 2013 fishing season.

Chernobyl Ant 2013

The Chernobyl ant is another of my favorite large attractor flies that I use as a top fly indicator when using the dry/dropper approach. The large foam ant is very buoyant and the bright indicator foam makes it visible in most situations. There are also times when the fish go for this clump of foam as if it represents the last meal. Unfortunately there are other times when the Chernobyl ant draws refusals and in this case it serves as a distraction from the trailing nymph.

Chernobyl Ant Photo Album

I needed to replenish my stock of this frequently used fly so I decided to take some lessons from the pool toy construction. First I went to YouTube and viewed several video demonstrations of tying the Chernobyl ant. They all seemed to use two layers of foam, but I prefer one layer with pearl chenille wrapped around the hook beneath the first layer. The irridescent pearl chenille imitates the underside of many natural beetles that I’ve observed, and I feel this is a triggering characteristic. I could probably wrap the pearl chenille beneath two layers of foam, but I view two layers as making this fly unnecessarily difficult to tie.

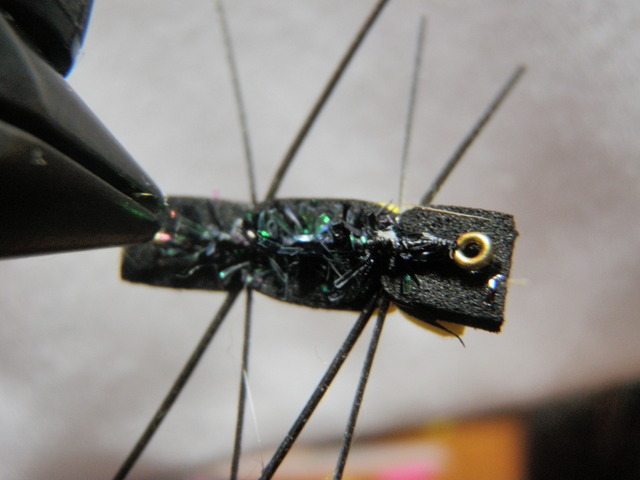
Lots of Radiation Here

Lots of Radiation Here

Two aspects of the fly that I attempted to improve upon in my latest tying efforts are the legs and the tendency of the foam to spin around the hook after several catches. I learned from the pool toy the importance of having a base on the hook shank to attach the foam to, so I made sure to wrap the pearl chenille over the hook shank at the points where I tied the foam to the hook. In addition I used a stronger and heavier thread that allowed me to apply significantly more pressure on my downward locking wraps on the foam. And the last step I took was to apply Sally Hanson teflon clear nail polish to the front and rear wraps. The teflon product is quite thin and soaks into the thread wraps. On the flies I’ve completed I’ve tested the contact of the body to the hook, and they seem to be much more solid than my previous efforts.

For the legs I experimented with finer more flexible materials and left the legs longer. My theory is that the longer flexibile legs will create more movement and thus attract more fish. I can always cut back the legs on the stream if I feel they are a deterrent to fish. My favorite leg material so far is a product called Sili Legs, and I’ve made several versions with barred legs and more with black legs. Another pool toy lesson that I’ve applied to my new Chernobyl ants is the usage of bright pink foam as an indicator in addition to the bright yellow I used on the past.

Pink Indicator on This One

Pink Indicator on This One

I plan to create at least 20 new and improved Chernobyl ants as we head into the 2013 season. Stay tuned to this blog to find out how this experiment plays out.


Yellow Letort Hopper

It’s simple to tie and is probably my best large top fly producer, so why do I keep trying to find a replacement? Every year I experiment with a new foam hopper concoction, but I continue returning to the simple classic Letort hopper. This year I’m trying the Grillos pool toy. Last year it was the Charlie Boy hopper.

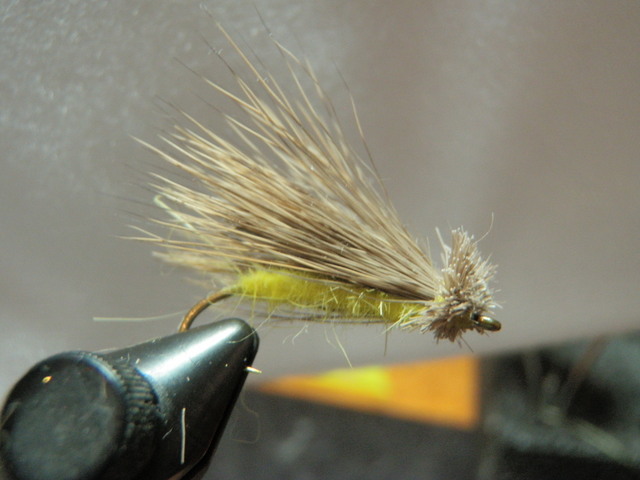
The problem with the Letort hopper is buoyancy. The large deer hair wing is very visible and it supports beadhead nymphs up to size 14 rather well; however, after fishing a couple pockets or runs it requires drying. This usually involves sopping up excess moisture using my shirt and then dipping in the white dry shake powder. It works, and I’ve been known to spend whole days following this routine, but I continue to seek an imitation that fools trout as well as the Letort hopper, but offers superior buoyancy.

In spite of my efforts to phase the Letort hopper out, I rely on it heavily so I tied twenty size 10 models with nice full wings. I viewed a YouTube video and adopted the clipped deer hair head refinement that the tier demonstrated. The ones I made recently look great, and I applied head cement to the wraps before tying down the deer hair, so these should be extremely durable.

Classic Letort Hopper

Classic Letort Hopper

I’m convinced that the narrow body profile and yellow body color of this fly enable it to serve double duty as a hopper imitation as well as a golden stonefly adult. I’ve had great success with this fly in late June and early July when golden stoneflies are prevalent on western streams. The Letort hopper remains in a prominent position in my fly box.

Grillos Pool Toy

While on a day of guided fishing with Taylor Edrington of Royal Gorge Anglers I asked him what his favorite hopper imitation was. Without hesitation Taylor replied with Pool Toy, and given Taylor’s experience guiding and fishing all around the world and his many hours guiding on the Arkansas River, I made a mental note to tie some. I searched YouTube and the internet for tying instructions, but could not find any. I found some photos on the web pages of online fly merchants, and read about the originator, Andrew Grillos, a native of Colorado.

I continue to search for a productive buoyant foam hopper pattern that will be highly visible and float like a cork while suspending size 14 beadhead nymph patterns. I wasn’t totally satisfied with the Charlie Boy Hopper, so I’m hoping the pool toy may be the answer.

Fortunately a recent article in Southwest Fly Fishing featured step by step instructions for producing a Grillos Pool Toy so I made a copy and studied it. I reviewed the material list and determined I had everything but a material to make pink indicators, so I decided to forge ahead and substitute a bright neon green material left over from a project completed over the holidays by my son and daughter. My first two prototypes were encouraging, but I struggled with what type of rubber leg to use and how to attach the rear legs and what color dubbing to use as a base under the first layer of foam.

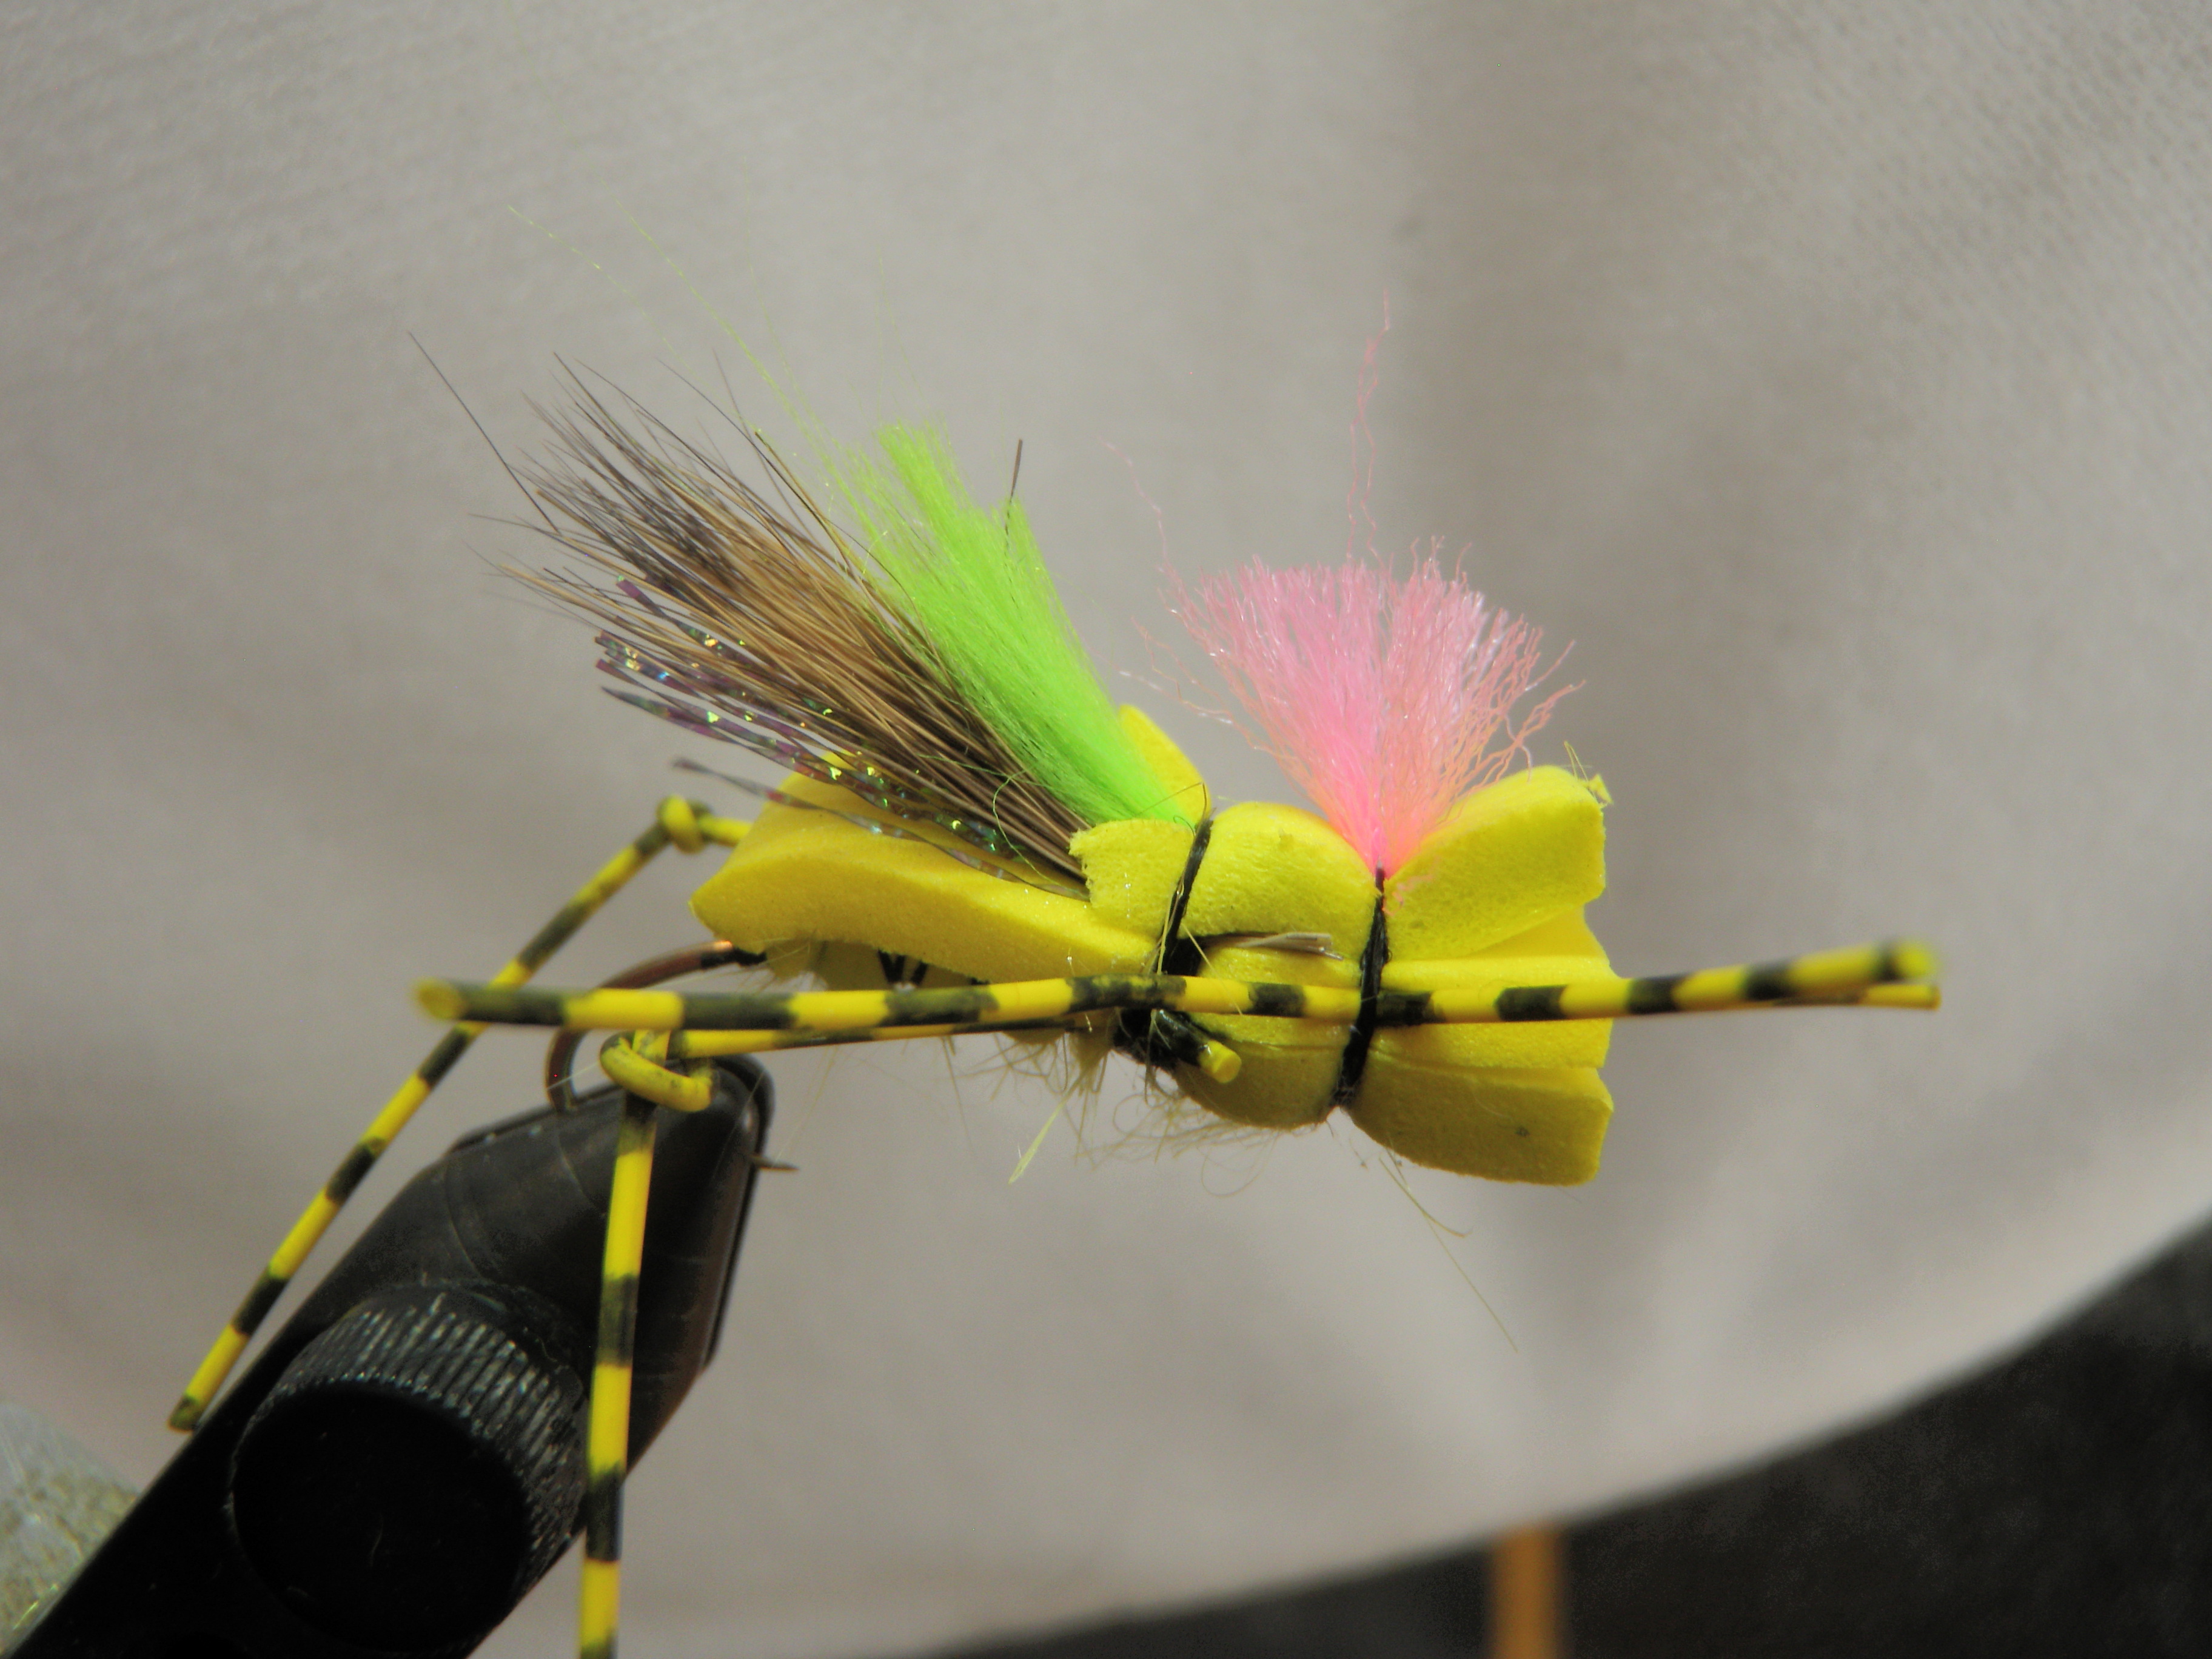
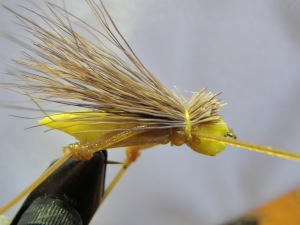
Side View of a Yellow Pool Toy

Side View of a Yellow Pool Toy

I decided to call Taylor and get his input. Taylor told me he didn’t use dubbing as it absorbs water and instead used a type of floss thread to create a base on the hook. In addition he said he used colors that match the first layer of foam, but indicated this isn’t necessary, and he frequently departs from this convention with attractor materials. As to the legs he advised Sexi legs as the material that he prefers. The material I used on my first couple prototypes was yellow barred Centipede legs. I love their look and rigidity, but the knots on the hind legs have a tendency to unravel and not hold. It was around this time that I discovered Andrew Grillos’ web site and sent him a quick email asking for his advice on the rubber/silicone legs.

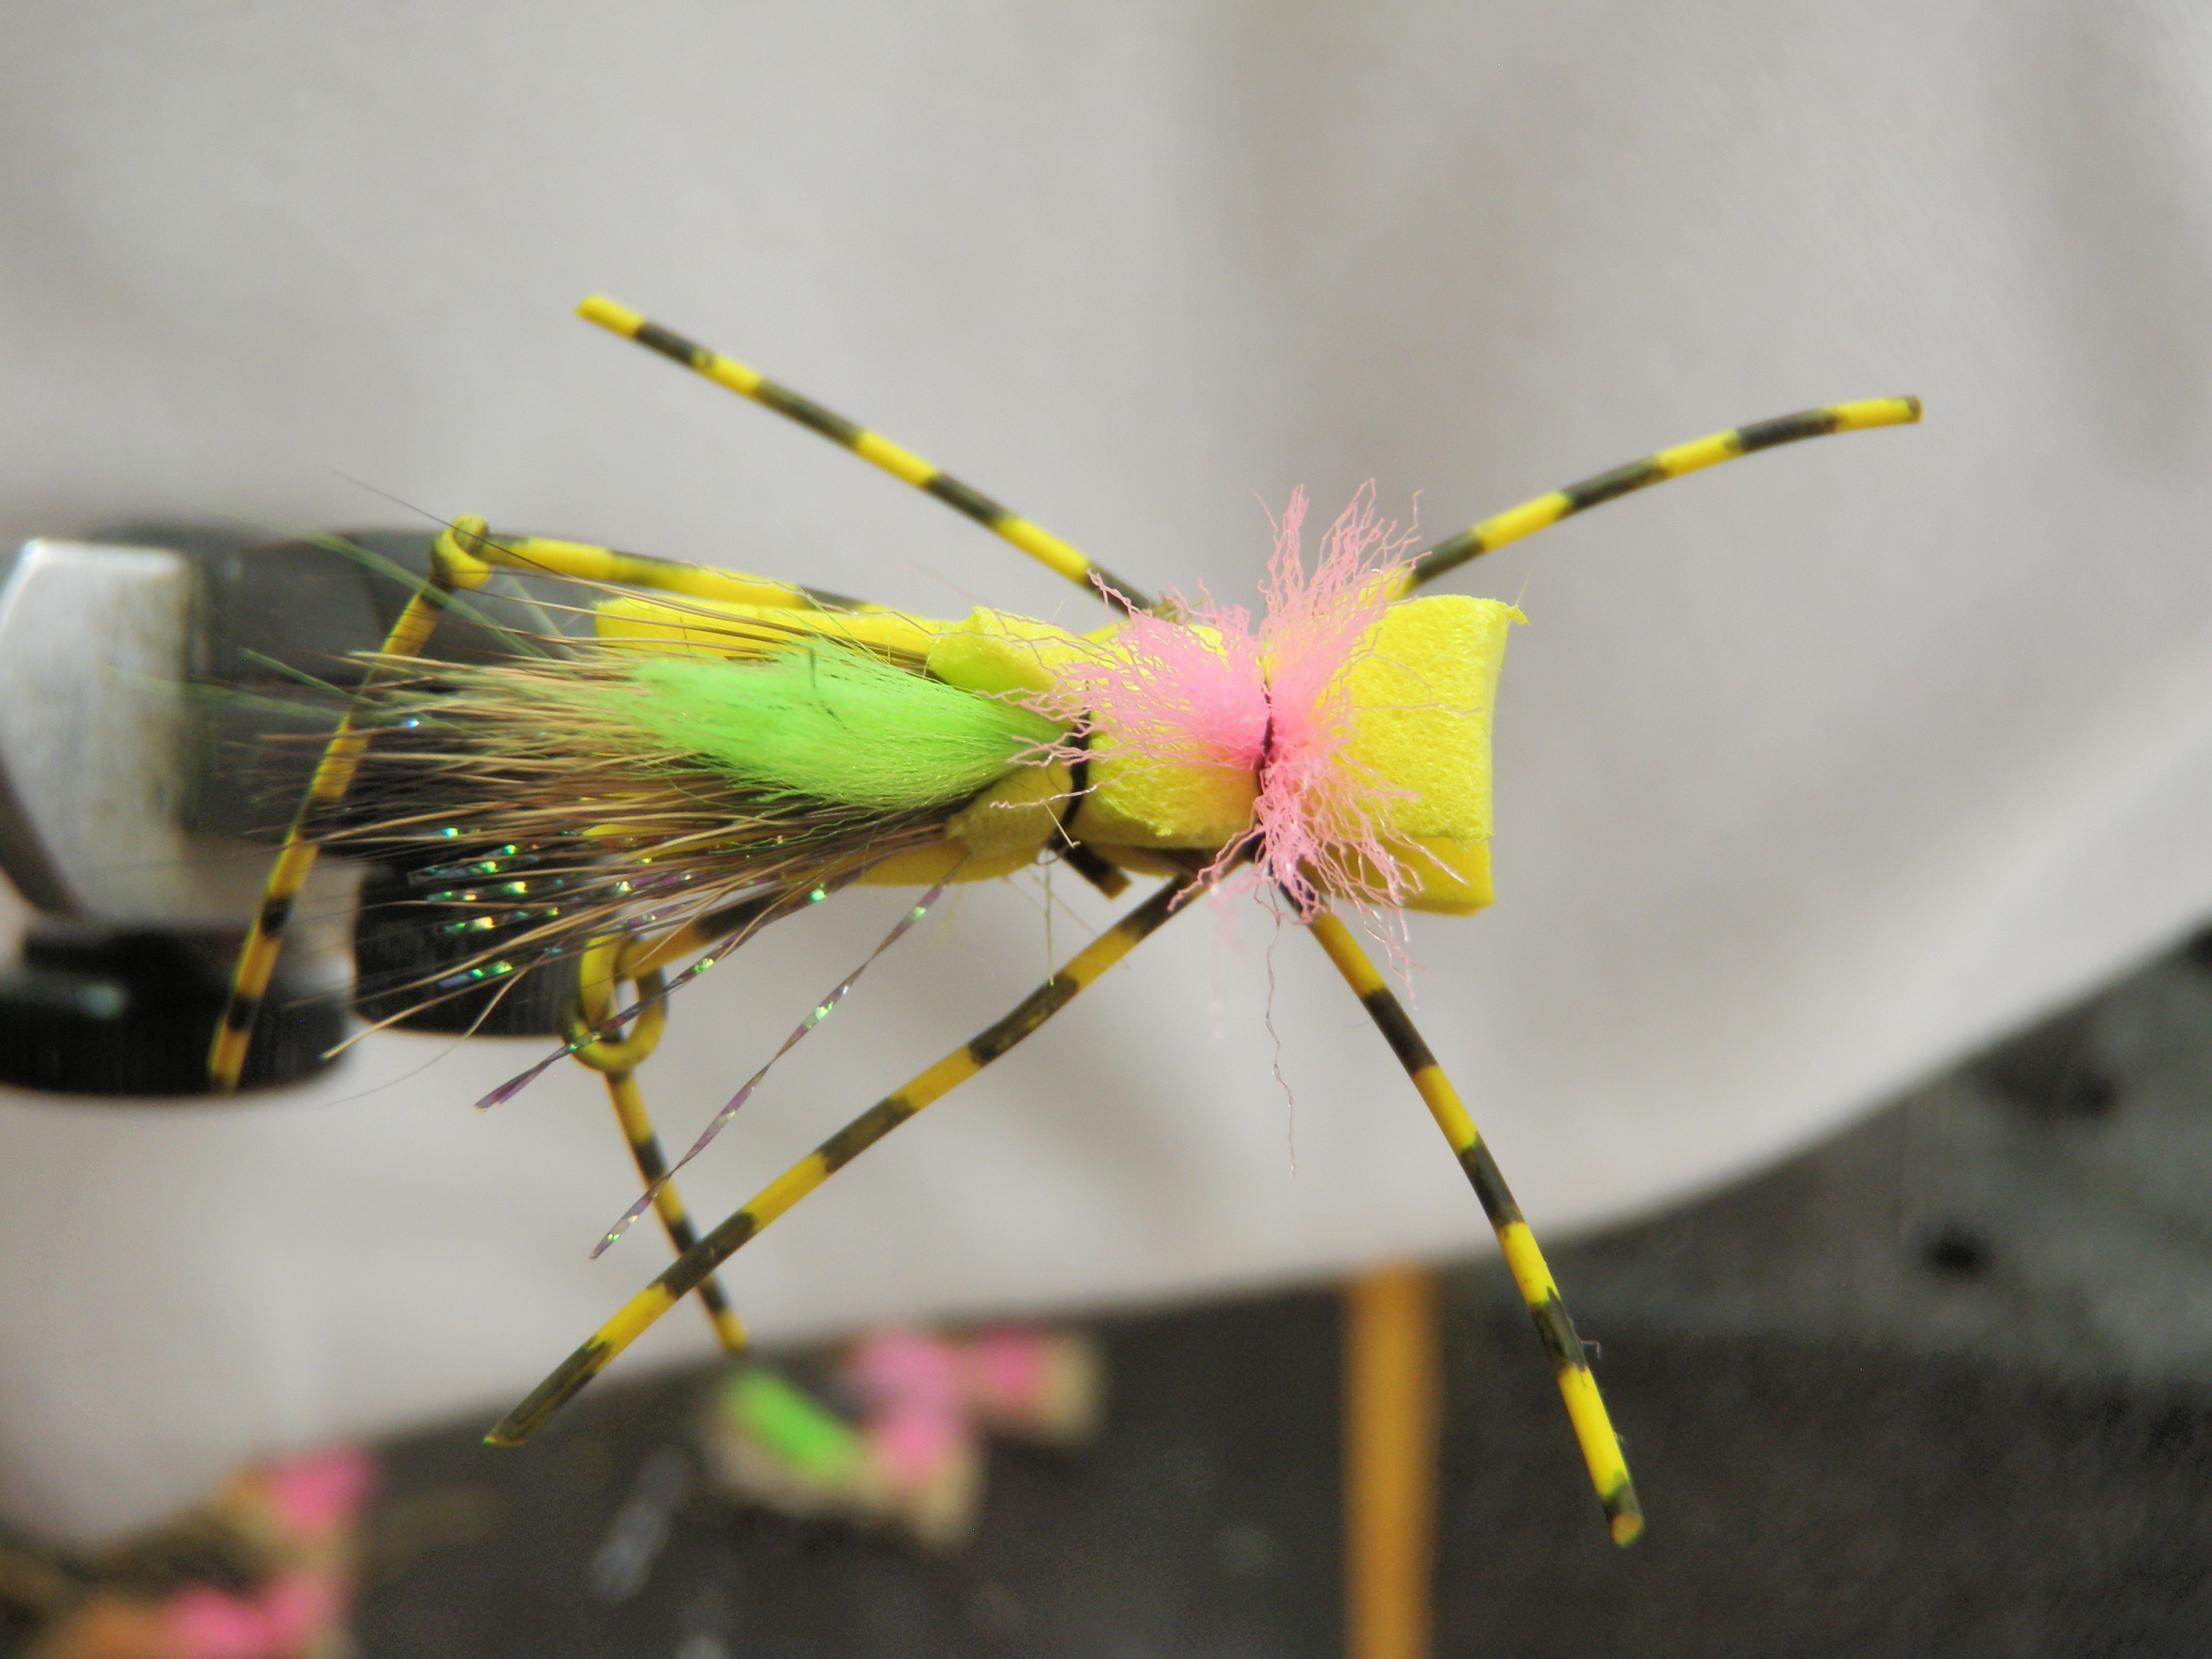
Top View, My Favorite

Top View, My Favorite

Andrew suggested the Centipede legs and recommended pulling the knot tight almost to the point of breaking. He suggested applying Zap a Gap or some form of quick drying adhesive to the knot as well and recommended coating the thread wraps where the legs are attached with head cement for additional durability.

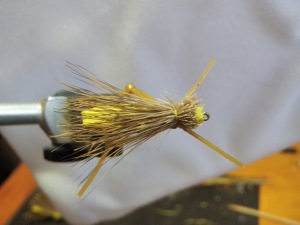
Top View with Hopper Legs Visible

Top View with Hopper Legs Visible

I ended up making a trip to Charlie’s Fly Box during a lunch break and found Sexi Legs along with a bright pink fiber that would be ideal as a strike indicator for the front section of the fly. I’ve now completed eleven Grillos pool toys using both Centipede legs and Sexi legs. Eight of the hoppers are tan and three are yellow, and I plan to manufacture three more pink versions which Taylor swears are very effective. I’m very pleased with the look of these flies and I am very anxious to toss on a stream to test their buoyancy.


Mega Beetle – 01/30/2012

Mega Beetle 01/30/2012 Photo Album

ComponentMaterial
HookTiemco 100, standard dry fly hook, size 12 or desired size
ThreadBlack 6/0
UnderbodyPeacock mylar chenille or synthetic peacock dubbing
BodyBlack 2mm foam cut to oval shape
LegsSmall black rubber legs
IndicatorSmall piece of 2mm foam, color to suit for visibility
Parachute hackleGrizzly neck hackle


I made two new flies from Charlie Craven’s book, so I decided to flip through my fly tying book by Scott Sanchez that I purchased at the Fly Fishing Show several years ago. The mega beetle caught my eye as a nice foam body fly to add to my arsenal. I fish with Chernobyl ants quite a bit, and the mega beetle appears to be a truncated Chernobyl ant. This fly may prove to be a good option in instances when fish refuse the Chernobyl ant with its smaller size and a shape more closely approximating natural beetles.

A Completed Mega Beetle

I tied three mega beetles on Sunday and then added two more on Monday. The trickiest part of this fly is winding the parachute hackle around the strike indicator on top of the beetle. I learned with practice that it doesn’t pay to be delicate with this operation, and the fly benefits from lots of tugging of the hackle and prying up the indicator. I’m sure beetles without hackle would work just as well, but I’m the type that always follows directions.

Top with Parachute Around Indicator

Black Parachute Ant – 01/11/2012

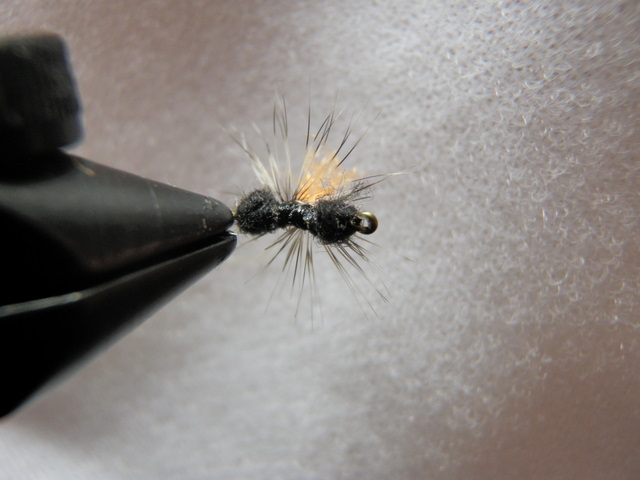
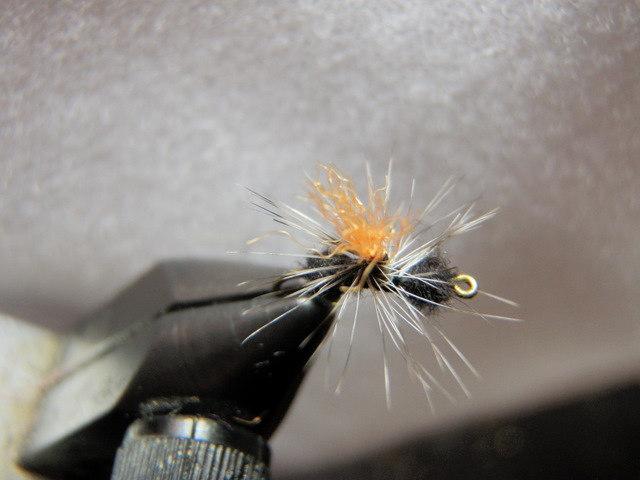
Two years ago while attending the Fly Fishing Show in Denver in January I roamed along the outer wall where fly tiers were stationed. Here I discovered a tier from Pennsylvania named Tom Baltz, and he was displaying some parachute black ants with various colored wing posts. I inspected the ants and I was impressed with the narrow waist between the bumps in spite of attaching a wing post and parachute hackle to the middle of the fly.

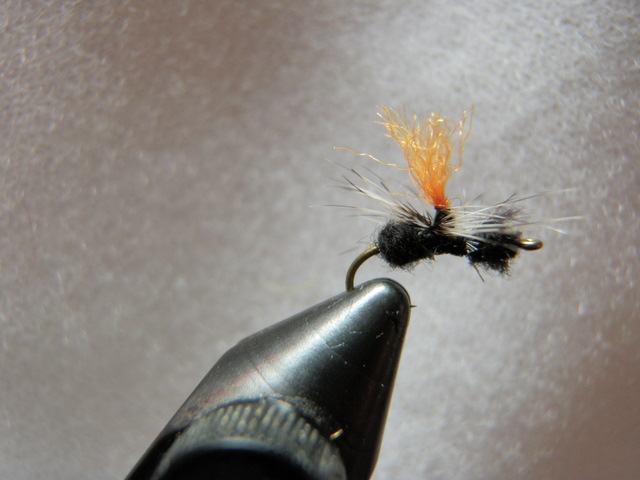
Parachute Ant

I asked Tom if he would tie one for me and he did. I returned to my personal fly tying desk and produced some reasonable imitations. Two years passed by, and I couldn’t remember the detailed steps required to make parachute ants, so when I attended the Fly Fishing Show on January 6, I sought out Tom for another instructional session. I found him in a similar position, and he agreed to tie a parachute ant for me again. This time I borrowed a piece of paper and pen and recorded each step in a fair amount of detail.

Trout View

Black Parachute Ant

by Tom Baltz

Mt. Holly Springs

ComponentMaterial
HookTiemco 101 Size 18
ThreadBlack 6/0
Wing PostCalf body hair, poly yarn or Z-lon using color of choice for visibility
HackleSize 18 grizzly
BodyBlack ultrafine dubbing


Below are the steps used by Tom to make black parachute ants:

1. Pinch barb
2. Put hook in vice
3. Attach thread to midpoint or slightly in front
4. Stack hair or align wing post fibers
5. Point wing down and in front of near side of hook shank. Take two soft turns to trap,    tighten and roll to top, then bind down behind post.
6. Make a blunt cut of wing post material and cover stub with wraps.
7. Make two turns around base of wing post to stand up then lock with two turns behind.
8. Attach hackle stem in front of wing post. One soft wrap from behind to in front over top of hackle stem then pull hackle so minimum stem showing then one more wrap then 10 horizontal wraps around hackle and wing post.
9. Go to back end of the hook and create rear bump.
10. Go to the front of the hook and dub front bump.
11. Return thread right in front of wing post and use rotating hackle pliers and wind the hackle counterclockwise from top to bottom down wing post.
12. Tie off on waist with two wraps, snip hackle tip, then whip finish through hackle.
13. Coat the waist.

*Key is wrap parachute counterclockwise. This enables wrapping the thread through the parachute hackle fibers without trapping them.

Fisherman View

Cream Parachute Hopper – 12/30/2011

The cream parachute hopper has proven itself as a great late season fly. This fly always lands in the proper alignment, presents the triggering feature of large splayed legs, and offers a large white wing post that makes it easy to spot on the water.

ComponentMaterial
HookTiemco 200R Size 10
ThreadLight yellow or cream
Wing PostClump of white calf body hair
RibGray sewing thread
BodyCream dubbing
WingTurkey tail segment
LegsKnotted pheasant tail fibers
HackleGrizzly neck


New Cream Parachute Hopper

On a late season hike to Wildcat Canyon, my friend Gregg Sutherland captured a couple hoppers and flicked them into the river. Before he offered them to the trout, I inspected the abdomen and noticed a segmented creamy underside, so I decided to imitate this in my new parachute hoppers.

A View from the Top

The yellow body Letort hoppers seem to work well in the early summer season, but when late August and September roll around, the parachute hopper seems to be more productive. I decided to produce eight cream parachute hoppers for the upcoming 2012 season.

Ribbed Abdomen and Pheasant Tail Legs

Charlie Boy Hopper – 12/15/2011

The only quality of my yellow Letort hoppers I’d like to improve upon is buoyancy. Last winter I tied some Charlie Boy Hoppers made from foam in an effort to discover a buoyant attractor fly that would suspend beadhead nymphs, be highly visible, and remain on top of the water without vigorous false casting. I made some tan and yellow Charlie Boys and gave them a try.

ComponentMaterial
HookTiemco 200R Size 10
Body2MM closed cell foam strip, color of choice
ThreadYellow 3/0 or color to match body
LegsYellow round rubber legs, medium
WingDeer hair


I had my best success on the Conejos River using the tan versions; however, the deer wing disintegrated after catching two fish. This was actually the best performance as the yellow ones that I used on the Arkansas River early in the season came apart simply from repeated casting. In short these flies were poorly tied, and I reverted to the reliable yellow Letort hopper.

Improved Charlie Boy Hopper

Jane bought me the fly tying book by Charlie Craven, the creator of the Charlie Boy Hopper, for my birthday so I decided to review the instructions. The materials list suggests using 3/0 thread instead of the standard 6/0. 3/0 is a stronger heavier thread that enables more pressure to be applied when tying down materials. Another change was the addition of hopper legs made out of rubber strands tied in a knot to simulate the bend in the large legs of a grasshopper.

Fish Eye View from Underneath

I decided to give the Charlie Boy Hopper another try. I tied 20 using yellow foam bodies and four using tan foam. I have quite a few carry over tan versions, and I discovered I was able to refurbish four bodies with missing wing material by attaching my thread near the head and tying in a new wing. I covered the top of the foam at the wing tie in point with clear nail polish and then cinched the thread down hard so that it was embedded into the foam. This flared the deer hair wing nicely and provides a very solid bond between the hair and the foam. I’m optimistic that these improvements will make the Charlie Boy Hopper a solid producer during 2012. The rubber hopper legs also add realism and movement, so that should enhance the productivity as well.

Top View

Yellow Letort Hopper – 12/9/11

This is probably my most productive dry fly year in and year out. It’s easy to tie, floats reasonably well, and suspends beadhead nymphs. The only thing I could ask for is better flotation as the yellow dubbing tends to saturate and sink after five to ten casts.

During 2010 I thought that perhaps the Chernobyl ant had become my top large attractor fly, but during 2011 the yellow Letort reinforced its position on the throne.

In an effort to obtain better flotation I tied a bunch of yellow and tan Charlie Boy Hoppers entering the 2011 season, but I soon discovered that I didn’t properly tie the flies and the deer hair wing came loose fairly quickly. I found myself returning to the old reliable Letort hopper, and it didn’t disappoint. Consequently I tied 20 brand new size 10 yellow Letort hoppers in preparation for 2012 to avoid getting caught short.

ComponentMaterial
HookTiemco 200R size 10 or 12
ThreadYellow 6/0
BodyYellow dubbing
UnderwingTurkey tail section or strip of black Tyvek
WingBrown deer hair


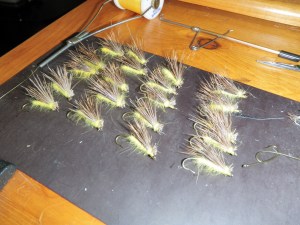
Twenty Yellow Letort Hoppers

I have noticed the effectiveness of the yellow Letort hopper peaks in July in the early part of the season in Colorado. Perhaps this means the large yellow fly is also imitating golden stonefly adults. Hopper bodies of light gray and tan seem to take over in the late season.

My Best Topwater Producer