Category Archives: Fly Tying

Blogs related to tying flies

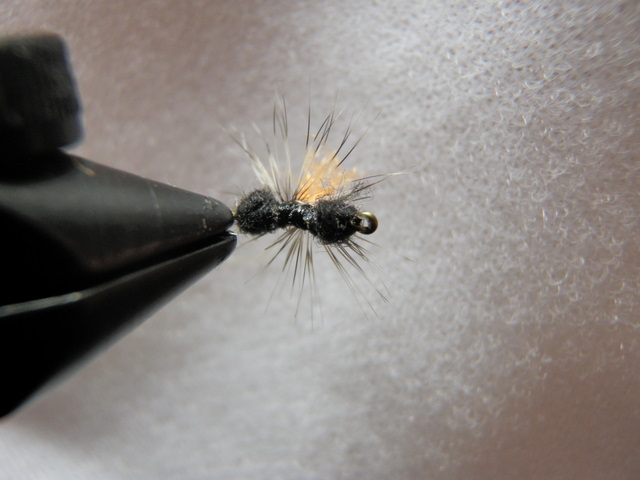
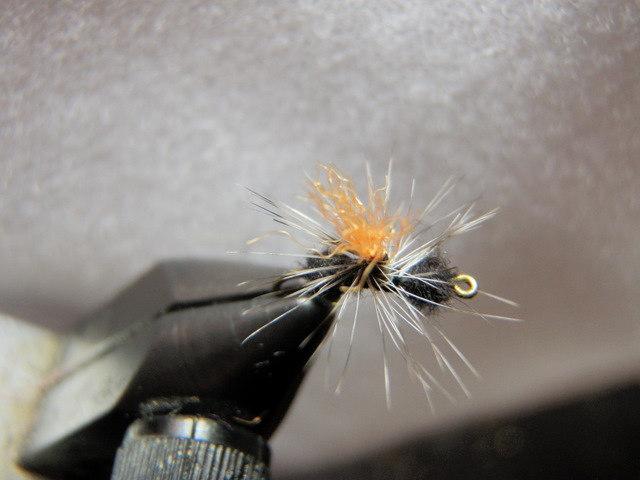
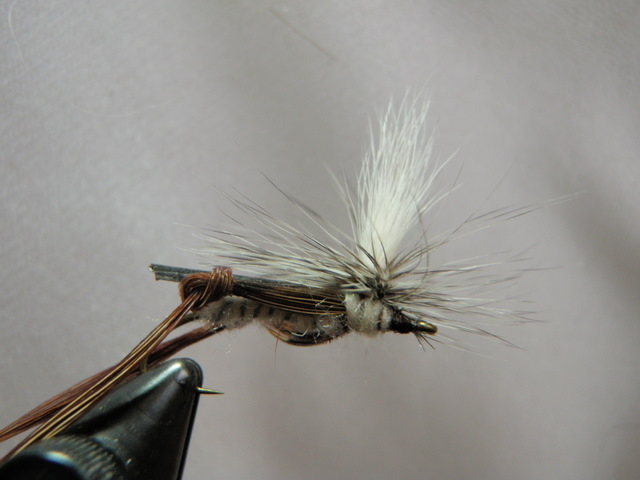
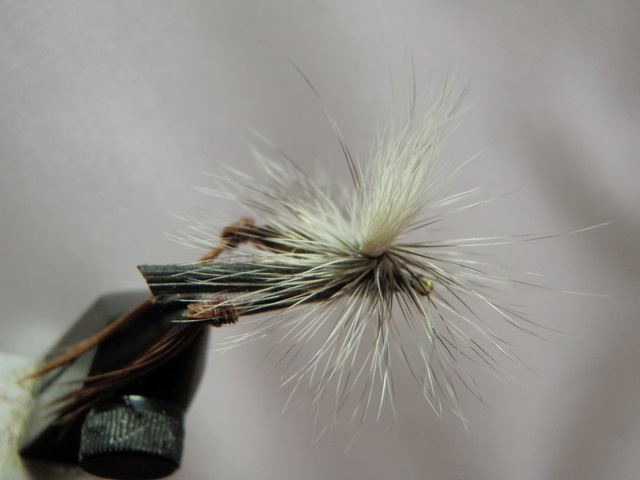
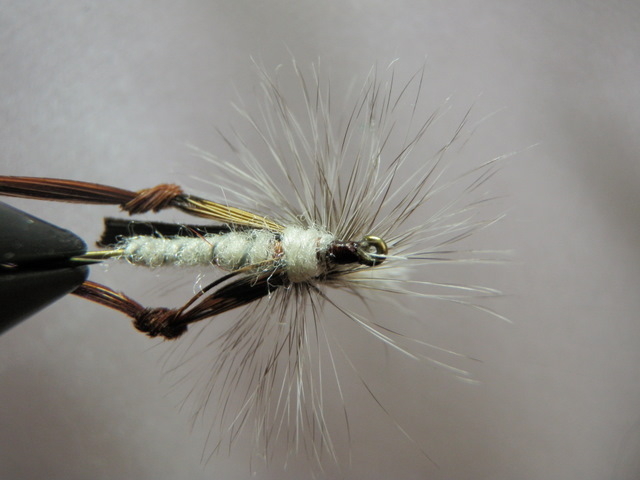
Black Parachute Ant – 01/11/2012

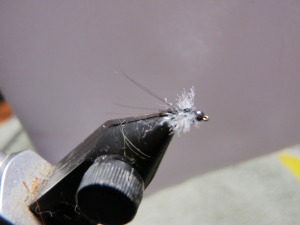
Two years ago while attending the Fly Fishing Show in Denver in January I roamed along the outer wall where fly tiers were stationed. Here I discovered a tier from Pennsylvania named Tom Baltz, and he was displaying some parachute black ants with various colored wing posts. I inspected the ants and I was impressed with the narrow waist between the bumps in spite of attaching a wing post and parachute hackle to the middle of the fly.

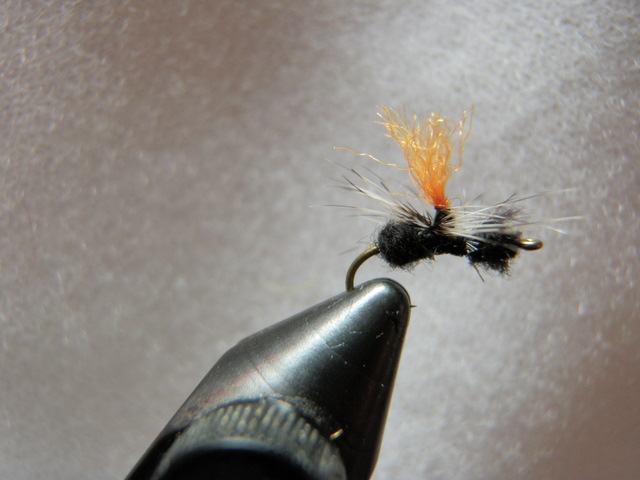
Parachute Ant

I asked Tom if he would tie one for me and he did. I returned to my personal fly tying desk and produced some reasonable imitations. Two years passed by, and I couldn’t remember the detailed steps required to make parachute ants, so when I attended the Fly Fishing Show on January 6, I sought out Tom for another instructional session. I found him in a similar position, and he agreed to tie a parachute ant for me again. This time I borrowed a piece of paper and pen and recorded each step in a fair amount of detail.

Trout View

Black Parachute Ant

by Tom Baltz

Mt. Holly Springs

ComponentMaterial
HookTiemco 101 Size 18
ThreadBlack 6/0
Wing PostCalf body hair, poly yarn or Z-lon using color of choice for visibility
HackleSize 18 grizzly
BodyBlack ultrafine dubbing


Below are the steps used by Tom to make black parachute ants:

1. Pinch barb
2. Put hook in vice
3. Attach thread to midpoint or slightly in front
4. Stack hair or align wing post fibers
5. Point wing down and in front of near side of hook shank. Take two soft turns to trap,    tighten and roll to top, then bind down behind post.
6. Make a blunt cut of wing post material and cover stub with wraps.
7. Make two turns around base of wing post to stand up then lock with two turns behind.
8. Attach hackle stem in front of wing post. One soft wrap from behind to in front over top of hackle stem then pull hackle so minimum stem showing then one more wrap then 10 horizontal wraps around hackle and wing post.
9. Go to back end of the hook and create rear bump.
10. Go to the front of the hook and dub front bump.
11. Return thread right in front of wing post and use rotating hackle pliers and wind the hackle counterclockwise from top to bottom down wing post.
12. Tie off on waist with two wraps, snip hackle tip, then whip finish through hackle.
13. Coat the waist.

*Key is wrap parachute counterclockwise. This enables wrapping the thread through the parachute hackle fibers without trapping them.

Fisherman View

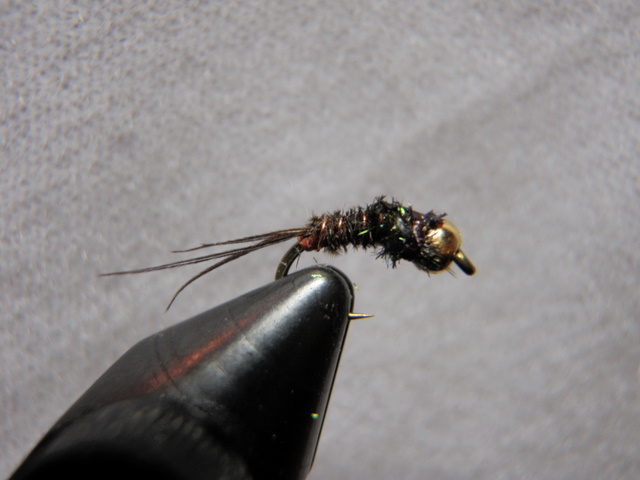
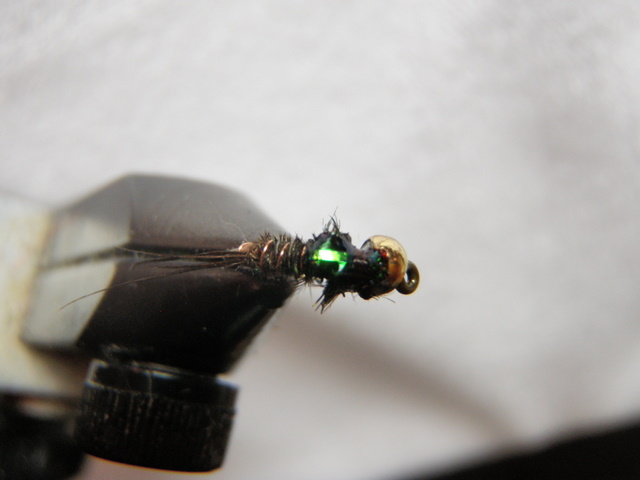
Beadhead Pheasant Tail Nymph – 01/11/2012

When I first moved to Colorado this fly was my dominant producer. I fished frequently in the South Platte River below Deckers, CO because of the proximity to my home and the great fishery that existed there prior to the Heyman Fire. Drifting a nymphing rig with a strike indicator, a split shot or two, a pink San Juan worm and a beadhead pheasant tail was money in the bank just about any time of year. However during the pale morning dun hatch time period of mid-June to mid-July, the pheasant tail nymph was unsurpassed.

ComponentMaterial
HookTiemco 2457, Size 16
BeadGold to fit hook size
RibFine copper wire
TailPheasant tail fibers
AbdomenPheasant tail fibers
Wing FlashStrand of pearl flashabou
Wing CaseFlash back black
ThoraxPeacock Herl


Beadhead Pheasant Tail Nymph

I can remember days fishing with my friend Dave Gaboury where every upstream cast produced a hit on the beadhead pheasant tail before, during and after a PMD hatch. In one instance, a strong hatch commenced and when fish began to rise to the surface, I switched to a PMD dry fly while Dave G. continued with his nymph system. Dave G. totally outfished me with the nymphs compared to my dry fly.

Flashback Wing Case

Over time I’ve modifed the standard pheasant tail by adding a gold bead, tying on a curved scud hook, adding a strand of pearl flashabou to the wing case, and using peacock herl for the thorax instead of pheasant tail fibers. I needed 16 beadhead pheasant tails to replenish my inventory for 2012, and I can report that I am ready to go.

Beadhead Bright Green Caddis Pupa – 01/10/2012

While living in Pennsylvania after I’d begun fly fishing, my Dad and I rented a cabin along the Beaverkill River in the Catskills of New York. I had just purchased Gary LaFontaine’s book Caddisflies and took it along on the trip. During one of our daily trips we accessed the upper Beaverkill above the junction pool and discovered the stocking truck.

ComponentMaterial
HookTiemco 2457, Size 16
BeadGold to fit hook size
Pupa sheathDark olive sparkle yarn
Abdomen2 parts bright green yarn and 1 part dark olive sparkle yarn
WingBrown deer hair
Head/ThoraxRed brown dubbing

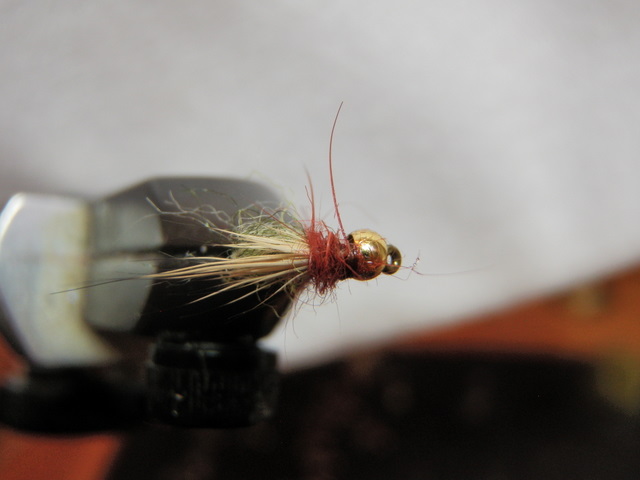
Bright Green Caddis Pupa Top View

After the truck departed we could see dense numbers of fish in the stream and after an hour or so of fishing, I began to see caddis emerging from the river. I tied on one of the bright green caddis pupa that I’d tied based on LaFontaine’s book and began to catch fish in rapid fire succession. This is quite a while ago, but I recall having at least two doubles where I had two fish at once.

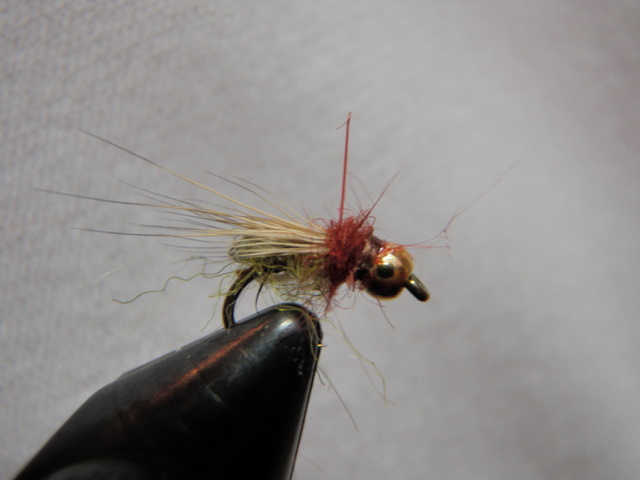
From the Side

After this experience I began to attach a bright green caddis pupa to my line every time I noticed fish feeding on caddis. It took me awhile to realize that not all caddis have bright green bodies, but more times that not the strategy worked. I continued using the bright green caddis in Colorado and added a gold bead to enable fishing as a dropper from a large attractor. The bright green caddis pupa has been and continues to be one of my top producers in Colorado. In order to begin 2012 with 25 in inventory, I tied 13 new ones and stocked them in my fly box.

Beadhead Emerald Caddis Pupa – 01/01/2012

Many years ago I traveled to Pennsylvania and visited my family and while there made a trip to the Tulphehocken Creek in Berks County to fish for trout. I encountered a nice caddis hatch near Blue Marsh Dam, but I was unable to consistently hook and land fish despite fairly heavy surface feeding. On a subsequent trip I visited Tulpehocken Creek Outfitters in Reading, Pa., and a gentleman in the store sold me some small emerald and light yellow caddis pupa and adults. I experienced increased success on the Tulpehocken with these flies and subsequently tied some of my own.

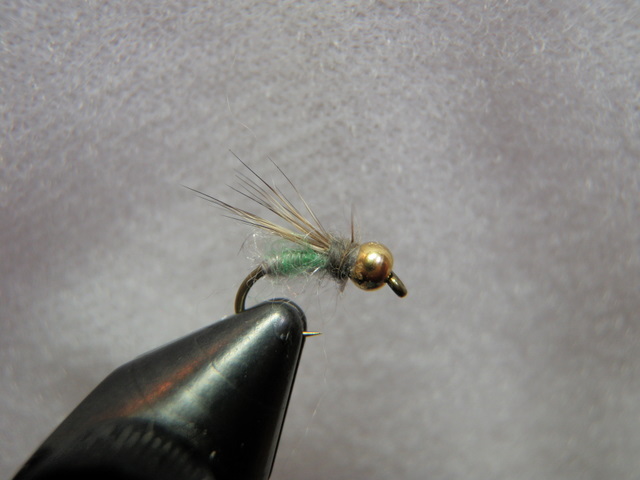
Emerald Beadhead Caddis Pupa


Around eight years ago I returned to Pa. for a college reunion and arrived early to do some fishing in Penns Creek with my friend Jeff Shafer. On an overcast Saturday morning Jeff introduced me to some new water near Coburn. We were having only a small amount of luck when I noticed some caddis dancing on the water. I managed to catch one and inspected its body and discovered a dark gray color with a hint of emerald at the tip of the abdomen. I decided to tie an emerald green caddis pupa to my line and managed to catch several nice fish after this change.

ComponentMaterial
HookTiemco 2457, Size 16
BeadGold to fit hook size
Pupa SheathGray sparkle yarn
AbdomenEmerald sparkle yarn
WingGray deer hair
Head/ThoraxGray dubbing like muskrat

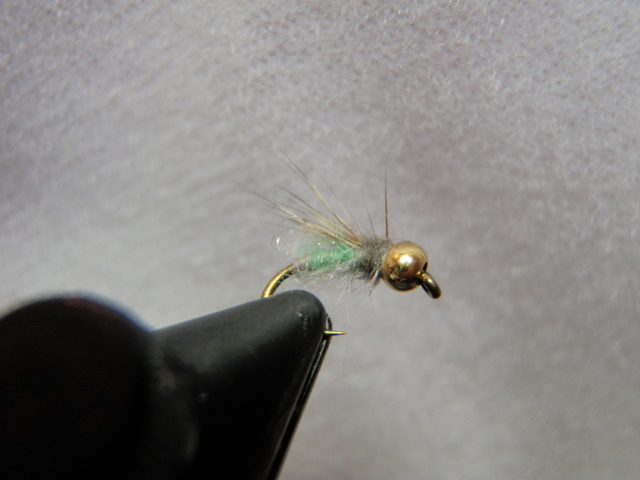
Tilted View


Based on this success in Pennsylvania, I began to experiment with the emerald caddis on Colorado Rivers, and I’ve discovered that the fish in the west like them just as much as the eastern fish. I planned to have 25 emerald caddis entering the 2012 season so I tied 13 fresh versions to rebuild my inventory.

Cream Parachute Hopper – 12/30/2011

The cream parachute hopper has proven itself as a great late season fly. This fly always lands in the proper alignment, presents the triggering feature of large splayed legs, and offers a large white wing post that makes it easy to spot on the water.

ComponentMaterial
HookTiemco 200R Size 10
ThreadLight yellow or cream
Wing PostClump of white calf body hair
RibGray sewing thread
BodyCream dubbing
WingTurkey tail segment
LegsKnotted pheasant tail fibers
HackleGrizzly neck


New Cream Parachute Hopper

On a late season hike to Wildcat Canyon, my friend Gregg Sutherland captured a couple hoppers and flicked them into the river. Before he offered them to the trout, I inspected the abdomen and noticed a segmented creamy underside, so I decided to imitate this in my new parachute hoppers.

A View from the Top

The yellow body Letort hoppers seem to work well in the early summer season, but when late August and September roll around, the parachute hopper seems to be more productive. I decided to produce eight cream parachute hoppers for the upcoming 2012 season.

Ribbed Abdomen and Pheasant Tail Legs

Salvation Nymph – 12/30/2011

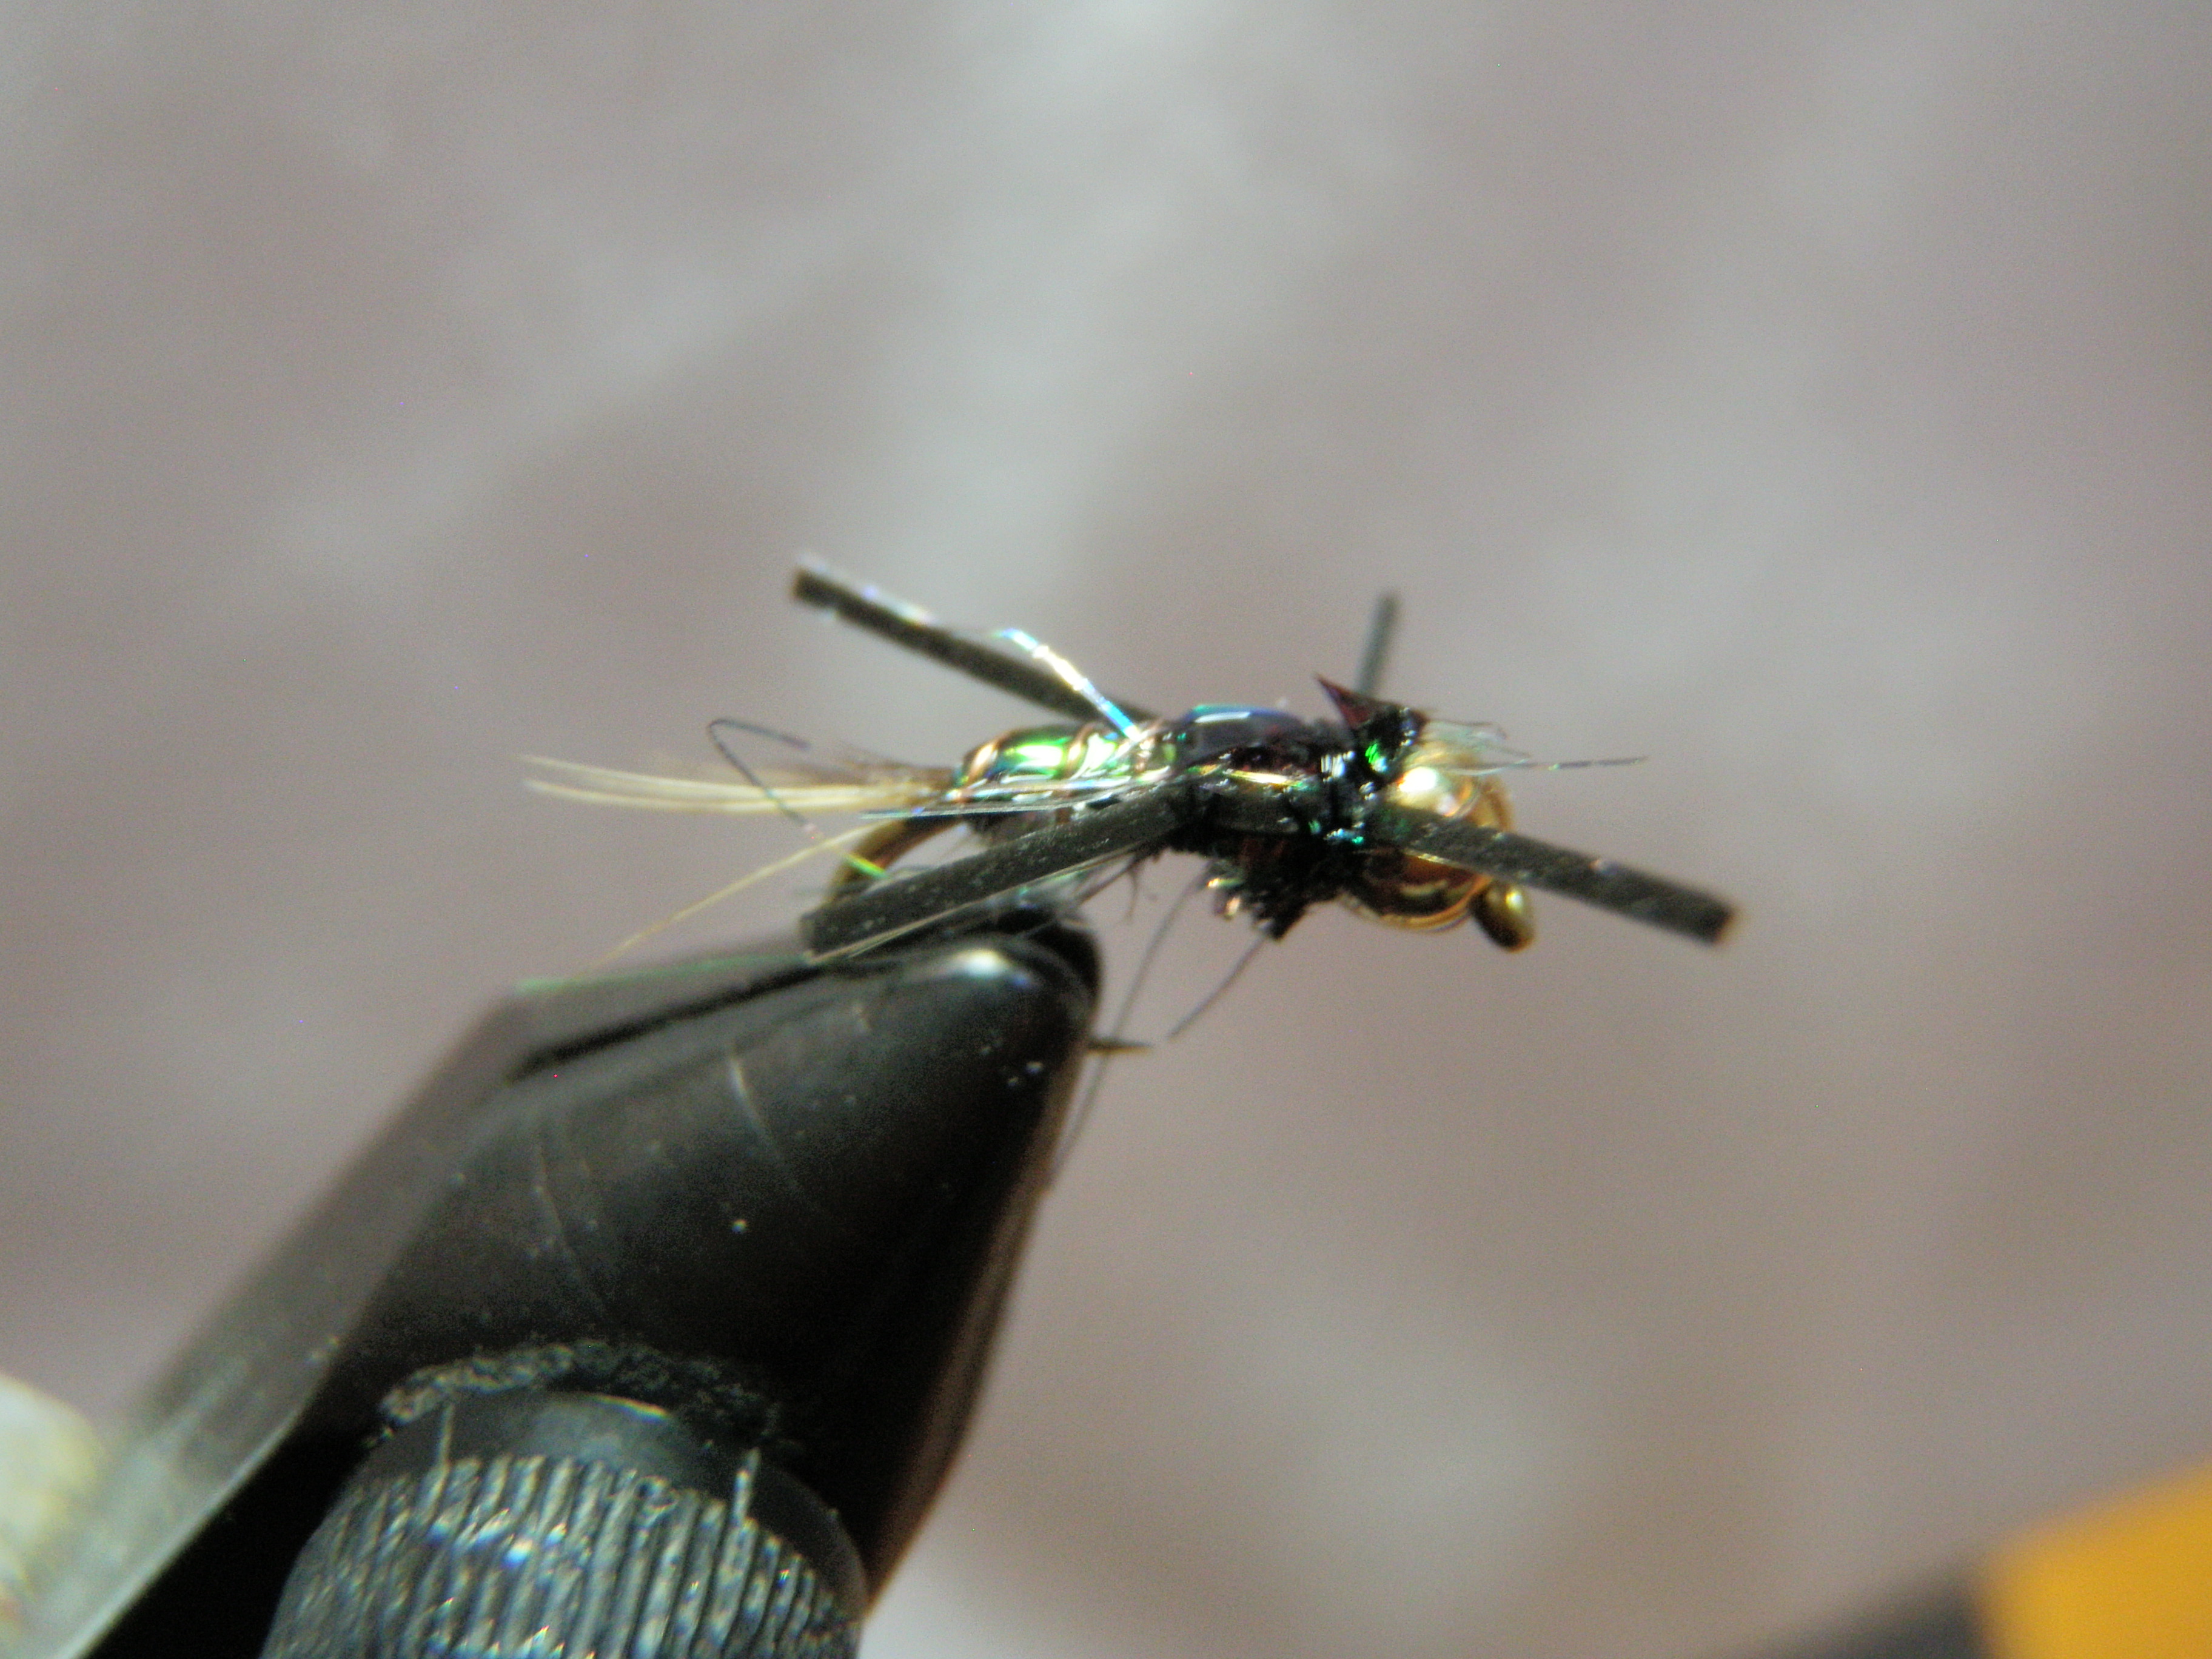
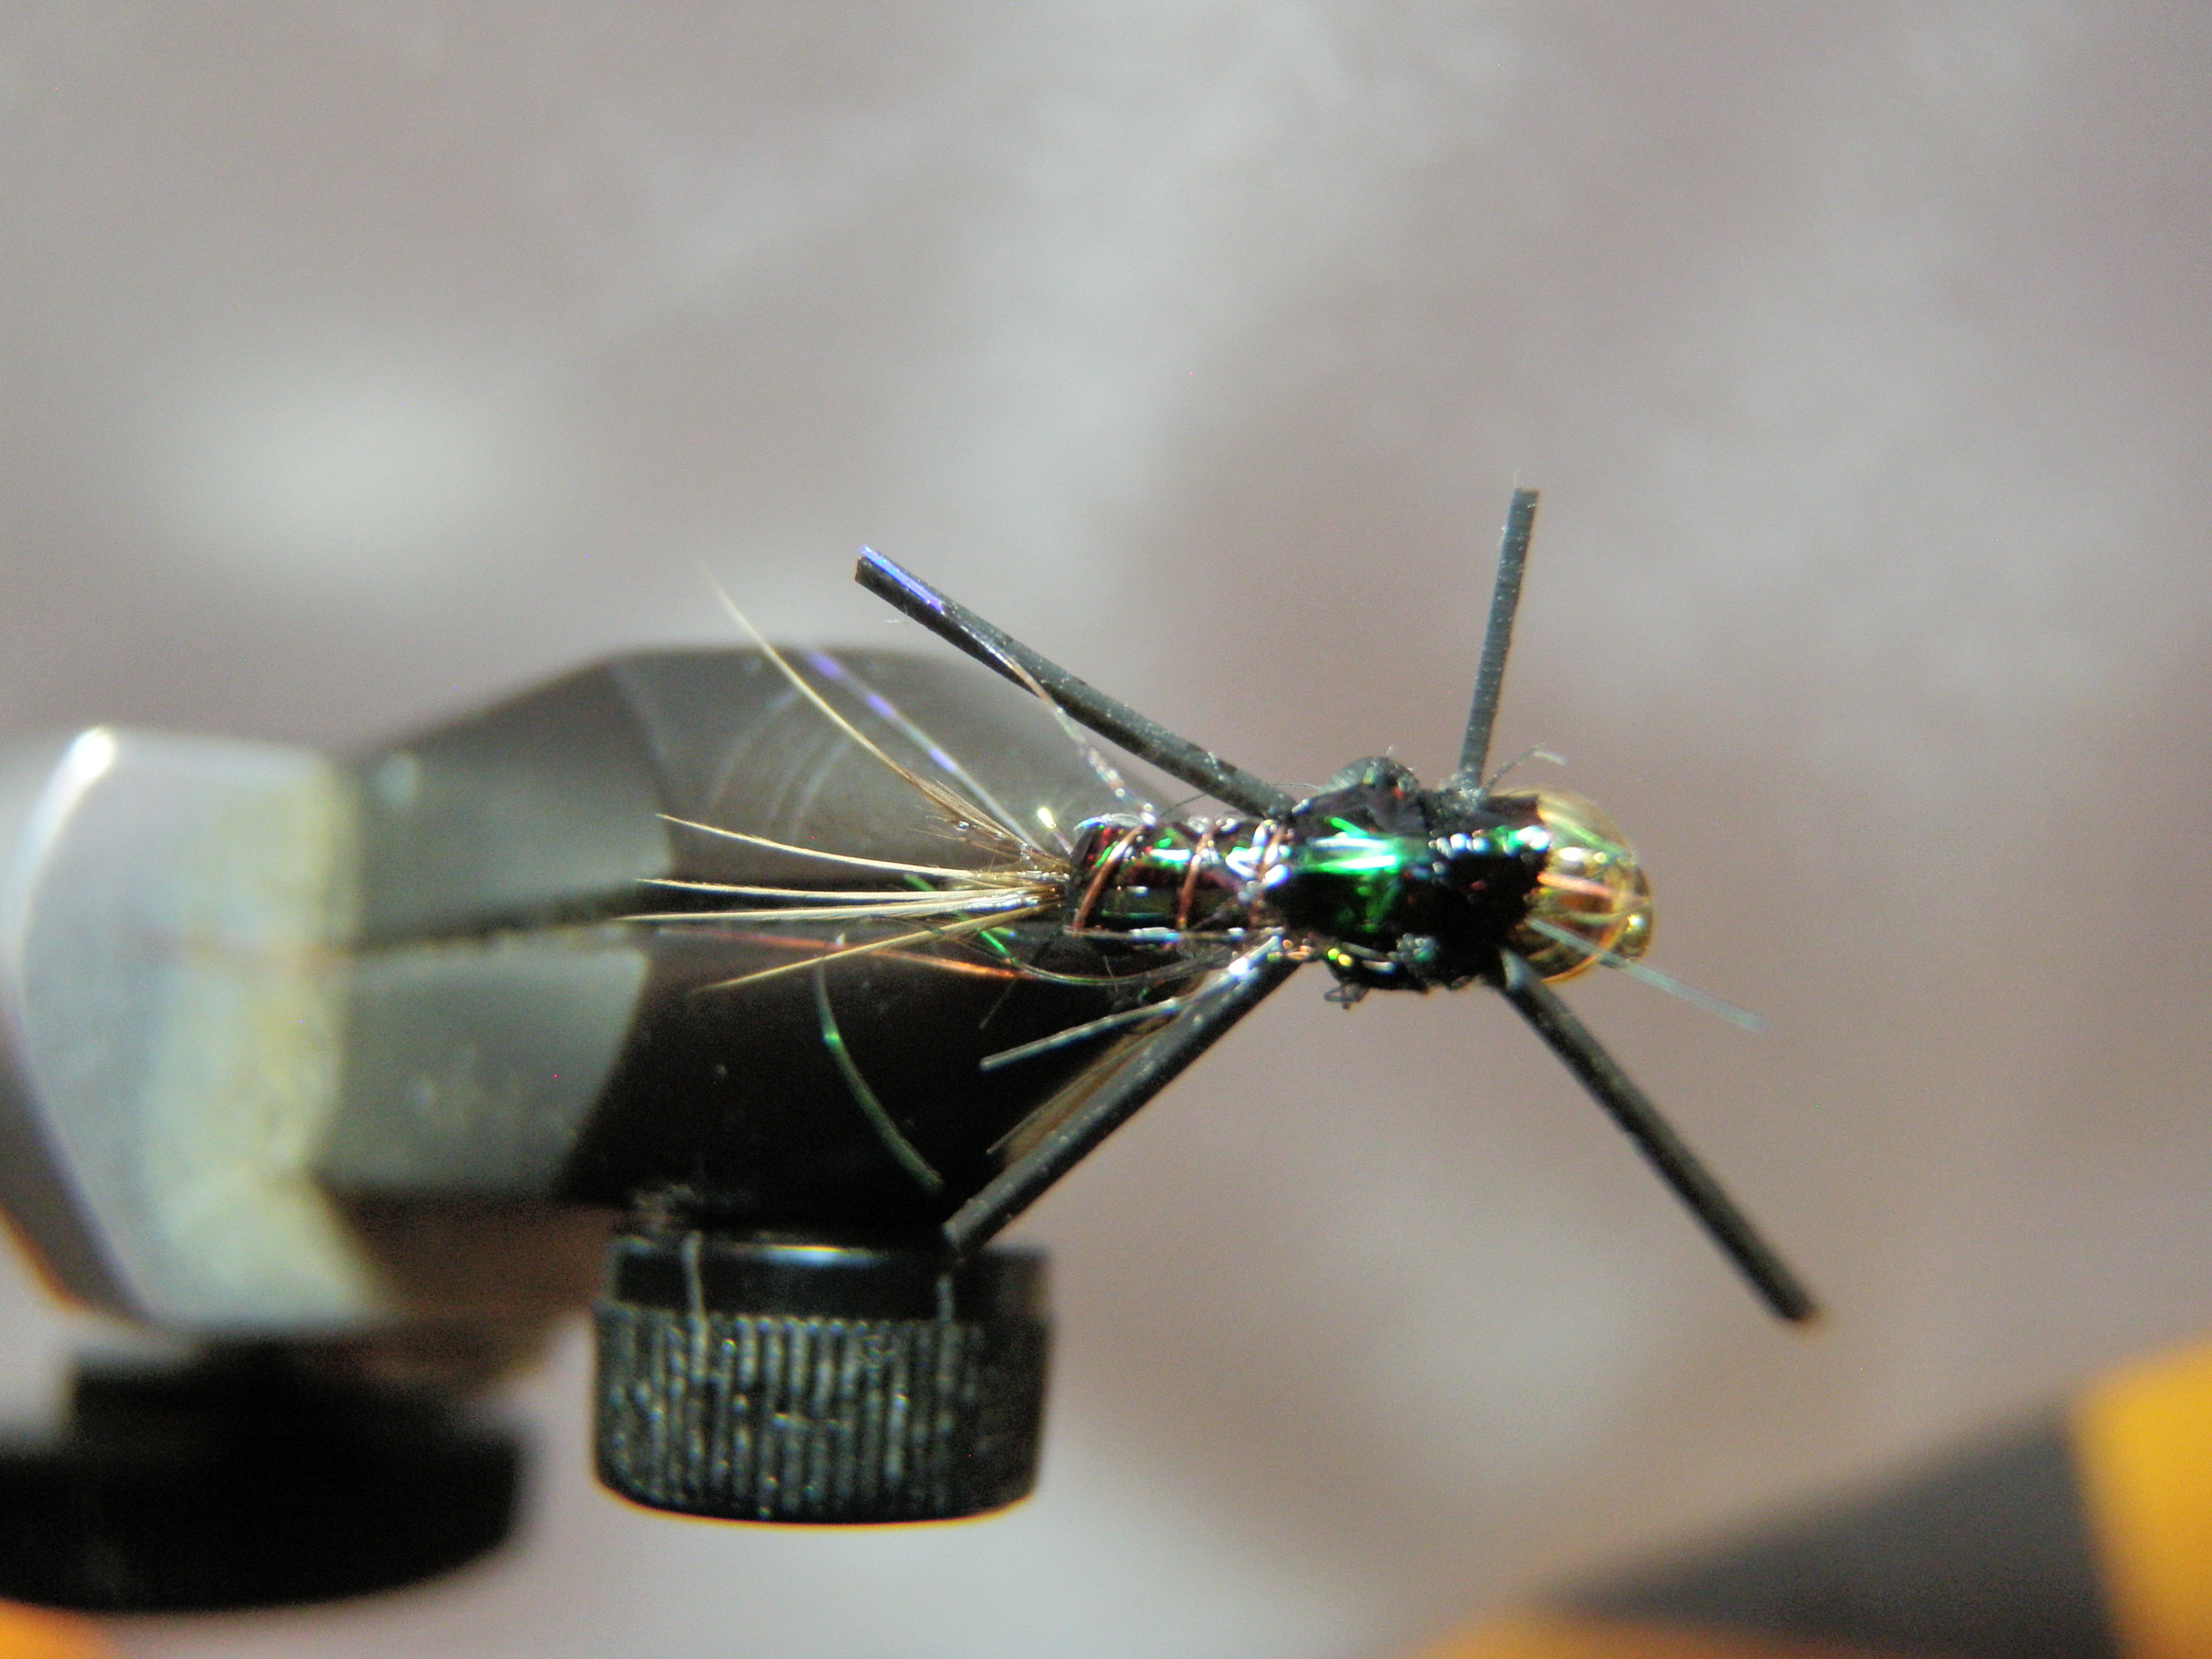
On the same trip to the Conejos River when I purchased western green drakes I also purchased some dark beadhead nymphs with iridescent backs and small rubber legs. I never asked what they were called so I’ve named them shimmering pheasant tails. These nymphs were quite effective on the upper Conejos River on my first day of fishing there.

Purchased Iridescent Nymph

I used the nymphs in a dropper configuration behind a Chernobyl ant and caught a lot of fish along the edge.

I lost quite a few of the purchased flies, so I made sure to maintain at least one in my foam pocket to use as a model when I attempted to replicate. In fact I took the sample version with me on a trip to Charlie’s Fly Box in Old Arvada and asked the store salesperson to help me purchase the materials required to tie a shimmering pheasant tail. He did just that, and I returned home with two colors of ice dub, silly legs and a sheet of flash back black.

ComponentMaterial
HookTiemco 2457 Size 14 or 16
BeadGold to fit hook size
ThreadBlack
TailFibers from pheasant body feather
RibFine copper wire
FlashPearl flashabou
Nymph BackFlash back black
AbdomenSilver holographic ice dub
ThoraxBlack peacock ice dub
LegsSilly legs
Wing CaseFlash back black and pearl flashabou


I gathered all the materials together and placed the purchased shimmering nymph on the magnet beneath my vise and began my first fly. First I threaded the bead over the hook point and slid it to the eye of the hook. Next I attached thread and wrapped it to just beyond the hook bend. I tied in a short stubby tail using pheasant body feather fibers. This was the only natural material in the entire fly. Next came a section of fine copper wire and then a strand of pearl flashabou followed by a thin strip of the flash back black. I opened the package of silver holographic ice dub next and observed that it appeared to be a massive clump of tinsel. How does one apply this metallic stuff? I took a small amount and twirled it on to the thread and miraculously it adhered just like natural dubbing.

Dave’s Shimmering Pheasant Tail

I pulled the flash back black up over the dubbed abdomen and then the pearl flashabou as well and then spiral wrapped the copper wire to the front of the abdomen. Next I folded the flashabou and flash back toward the rear over the abdomen and locked it there with a few turns of thread. Now for the thorax I grabbed the packet of black peacock ice dub and spun it on to my thread. I wrapped the black peacock from the front of the abdomen to behind the bead and then cut two small sections of black silly legs and mounted them on both sides of the thorax. Finally I pulled the flash back and flashabou forward over the top of the thorax dubbing and tied down and whip finished. I trimmed the legs to be even on both sides and as a last step coated the head threads and the entire top of the fly with Sally Hanson Hard As Nails.

Top View, My Favorite

I removed the fly and placed it next to the purchased model and concluded that I’d produced a fairly close replica. This is another new creation I am anxious to test in 2012.

Green Drake – 12/18/2011

One of the highlights of each fishing season is encountering a western green drake hatch. I can almost guarantee a green drake emergence if I visit the Frying Pan River between July and October. Hitting green drakes on other Colorado streams is more haphazard, but I’ve encountered them on St. Vrain Creek, the Roaring River, Clear Creek, the Fraser River, the Conejos River, and the Eagle River. If I only spot a few of these large mayflies by western standards, I immediately tie a green drake imitation to my line. Trout seem to have a long memory for green drakes, and because of their large size they are a treat to use as a prospecting fly.

For the most part fish are not extremely selective to green drake flies; however, over time I have tied numerous varieties. My first attempts were intended to mimic some green drake cripples that I purchased in Basalt on an early trip. They were called green drake cripples and were tied with a marabou tail and abdomen, then a deer hair collar and then hackle. They were difficult to tie and I gradually used them up and moved on to comparadun style green drakes. I made these with many shades of olive dubbing and had varying results.

This summer I traveled to the Conejos River in southcentral Colorado in late July and based upon the recommendation of the gentleman at the Conejos River Angler, I purchased a couple green drake flies. These flies produced quite well on my second day on the river in spite of a relatively sparse emergence. Subsequently the same flies produced fish on Clear Creek, but I lost all but one. Before I lost the remaining fly, I decided to use it as a model and produce some new ones for a September trip to the Frying Pan River.

Purchased Green Drake Took Ten Fish

I used the purchased fly to determine that the proper hook size was 12 3XL. I also was able to find some dubbing labeled light olive that matched the abdomen quite well, and found some maroon sewing thread in Jane’s sewing box that was perfect for the ribbing. Dark coastal deer hair was the final ingredient for the wing. The fly I purchased was much bushier than my version, but I wasn’t sure how to attach the extra materials, so I stayed with the sparse comparadun pattern.

ComponentMaterial
HookSize 12 3XL Dry Fly
ThreadOlive
WingDark Coastal Deer Hair
TailDark Tips of Moose Mane
RibMaroon Sewing Thread
AbdomenMedium Olive Dubbing
ThoraxMedium Olive Dubbing


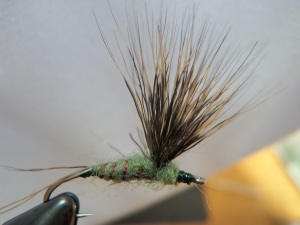
Top View of Green Drake

I stream tested these newly tied flies in September on the Frying Pan River and they performed like a charm. I landed four trout in a fifteen minute time period at the tail end of the green drake hatch, and Dan landed one as well. I was convinced that this was the model I would stick to for future years of green drake fly tying.

Nice Side View of Green Drake Comparadun

I sat down at my vice over the weekend and whipped out ten size 12 3XL green drakes. I’m quite anxious to test them again during the summer of 2012.

Nine Green Drakes and Materials Used

Charlie Boy Hopper – 12/15/2011

The only quality of my yellow Letort hoppers I’d like to improve upon is buoyancy. Last winter I tied some Charlie Boy Hoppers made from foam in an effort to discover a buoyant attractor fly that would suspend beadhead nymphs, be highly visible, and remain on top of the water without vigorous false casting. I made some tan and yellow Charlie Boys and gave them a try.

ComponentMaterial
HookTiemco 200R Size 10
Body2MM closed cell foam strip, color of choice
ThreadYellow 3/0 or color to match body
LegsYellow round rubber legs, medium
WingDeer hair


I had my best success on the Conejos River using the tan versions; however, the deer wing disintegrated after catching two fish. This was actually the best performance as the yellow ones that I used on the Arkansas River early in the season came apart simply from repeated casting. In short these flies were poorly tied, and I reverted to the reliable yellow Letort hopper.

Improved Charlie Boy Hopper

Jane bought me the fly tying book by Charlie Craven, the creator of the Charlie Boy Hopper, for my birthday so I decided to review the instructions. The materials list suggests using 3/0 thread instead of the standard 6/0. 3/0 is a stronger heavier thread that enables more pressure to be applied when tying down materials. Another change was the addition of hopper legs made out of rubber strands tied in a knot to simulate the bend in the large legs of a grasshopper.

Fish Eye View from Underneath

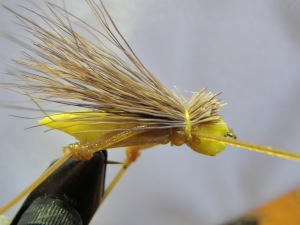
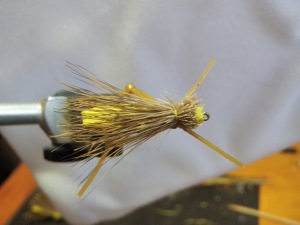
I decided to give the Charlie Boy Hopper another try. I tied 20 using yellow foam bodies and four using tan foam. I have quite a few carry over tan versions, and I discovered I was able to refurbish four bodies with missing wing material by attaching my thread near the head and tying in a new wing. I covered the top of the foam at the wing tie in point with clear nail polish and then cinched the thread down hard so that it was embedded into the foam. This flared the deer hair wing nicely and provides a very solid bond between the hair and the foam. I’m optimistic that these improvements will make the Charlie Boy Hopper a solid producer during 2012. The rubber hopper legs also add realism and movement, so that should enhance the productivity as well.

Top View

Yellow Letort Hopper – 12/9/11

This is probably my most productive dry fly year in and year out. It’s easy to tie, floats reasonably well, and suspends beadhead nymphs. The only thing I could ask for is better flotation as the yellow dubbing tends to saturate and sink after five to ten casts.

During 2010 I thought that perhaps the Chernobyl ant had become my top large attractor fly, but during 2011 the yellow Letort reinforced its position on the throne.

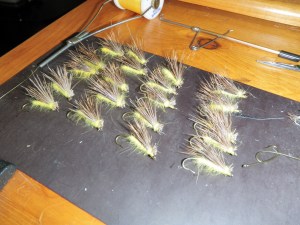
In an effort to obtain better flotation I tied a bunch of yellow and tan Charlie Boy Hoppers entering the 2011 season, but I soon discovered that I didn’t properly tie the flies and the deer hair wing came loose fairly quickly. I found myself returning to the old reliable Letort hopper, and it didn’t disappoint. Consequently I tied 20 brand new size 10 yellow Letort hoppers in preparation for 2012 to avoid getting caught short.

ComponentMaterial
HookTiemco 200R size 10 or 12
ThreadYellow 6/0
BodyYellow dubbing
UnderwingTurkey tail section or strip of black Tyvek
WingBrown deer hair


Twenty Yellow Letort Hoppers

I have noticed the effectiveness of the yellow Letort hopper peaks in July in the early part of the season in Colorado. Perhaps this means the large yellow fly is also imitating golden stonefly adults. Hopper bodies of light gray and tan seem to take over in the late season.

My Best Topwater Producer

Sunken Trico – 12/5/2011

During September 2011 I made my first ever fishing trip to the North Platte River at Northgate Canyon. On my way I stopped at the North Park Fly Shop to obtain information about access and fishing conditions. The young man in the fly shop told me that tricos were hitting the water between 11AM and 1PM and BWO’s were emerging in the afternoon. Since I didn’t have more than one or two trico spinners I attempted to purchase some at the shop. Unfortunately North Park was out of them, but the young man I spoke with recommended buying sunken tricos.

I purchased four or five sunken tricos and sure enough I noticed swarms of tricos above the riffles in the late morning. At around noon the tiny tricos hit the water and trout began to rise and sip them in. Since I didn’t have trico  spinners, I added a sunken trico as a dropper to my large attractor top fly, and I was amazed to discover that the fish loved subsurface tricos as much as the ones floating on the surface. The sunken tricos I purchased had black bodies with wings made out of a material that almost looked like the clear plastic used to make baggies.

I promised myself that I would make sunken tricos, but never got around to it last winter. Once again in September of 2011 I made a trip to the North Platte River and stopped at the North Park Angler. The same salesperson was present and once again recommended sunken tricos. I asked about the ones with the plastic style wings, and he no longer had those so I purchased some with black bodies and white poly wings. The wings were swept back over the body caddis style. I didn’t have any success on the North Platte with these flies, but on a later trip to the Arkansas River I managed to hook and land one or two fish on this version of a sunken trico.

As I prepare for the 2012 season, I finally got around to tying sunken tricos. I searched online and found a pattern where the abdomen was constructed with fine black wire. I wasn’t convinced that a body made from fine wire would be narrow enough, so when I visited Charlie’s Fly Box to purchase materials I asked the clerk how he would make a sunken trico. He suggested tying them with a tiny black tungsten bead behind the eye of the hook so I bought some very small black tungsten beads.

ComponentMaterial
HookTiemco 101 Size 24
ThreadBlack 6/0
TailDun hackle fibers
AbdomenBlack tying thread
WingWhite poly yarn
ThoraxBlack tying thread or small amount of black dubbing


Size 24 Sunken Trico

Early during this past week I sat down and tied six sunken tricos. I threaded the tiny beads on to the Tiemco 101 size 24 hooks and then tied tricos in the same manner that I have tied them since I began fly fishing and fly tying. I stripped some stiff barbules from a large hackle feather and tied them in for tails. I wrapped black thread forward to create the abdomen and then I took a sparse clump of white poly yarn and tied it in behind the bead and used figure eight wraps to secure the spent wing.

Black Tungsten Bead for Sinking

I like the look of this fly, and I’m anxiously anticipating encountering a trico hatch this summer to see how they perform.