X Leg Nymph 05/11/2020 Photo Album
I lived in Colorado for thirty years; however, I continue to subscribe to Pennsylvania Boater & Angler. I enjoy staying current with the latest fishing trends and events in Pennsylvania in case I make an infrequent return visit. A recent issue outlined the tying steps for a X leg nymph, and the simplicity of the fly struck me. I scanned the pattern and recently had the time to tie some experimental models. I was also pleased to discover that I possessed all the necessary materials to create five brown versions.
| Fly Component | Material |
|---|---|
| Hook | 3X Long, curved nymph hook 10-12 |
| Bead | 1/8 inch gold |
| Thread | 6/0 tan |
| Tail | Brown marabou |
| Wire | Sm Gold Ultra wire |
| Dubbing | Brown |
| Legs | Amber Barred Legs |

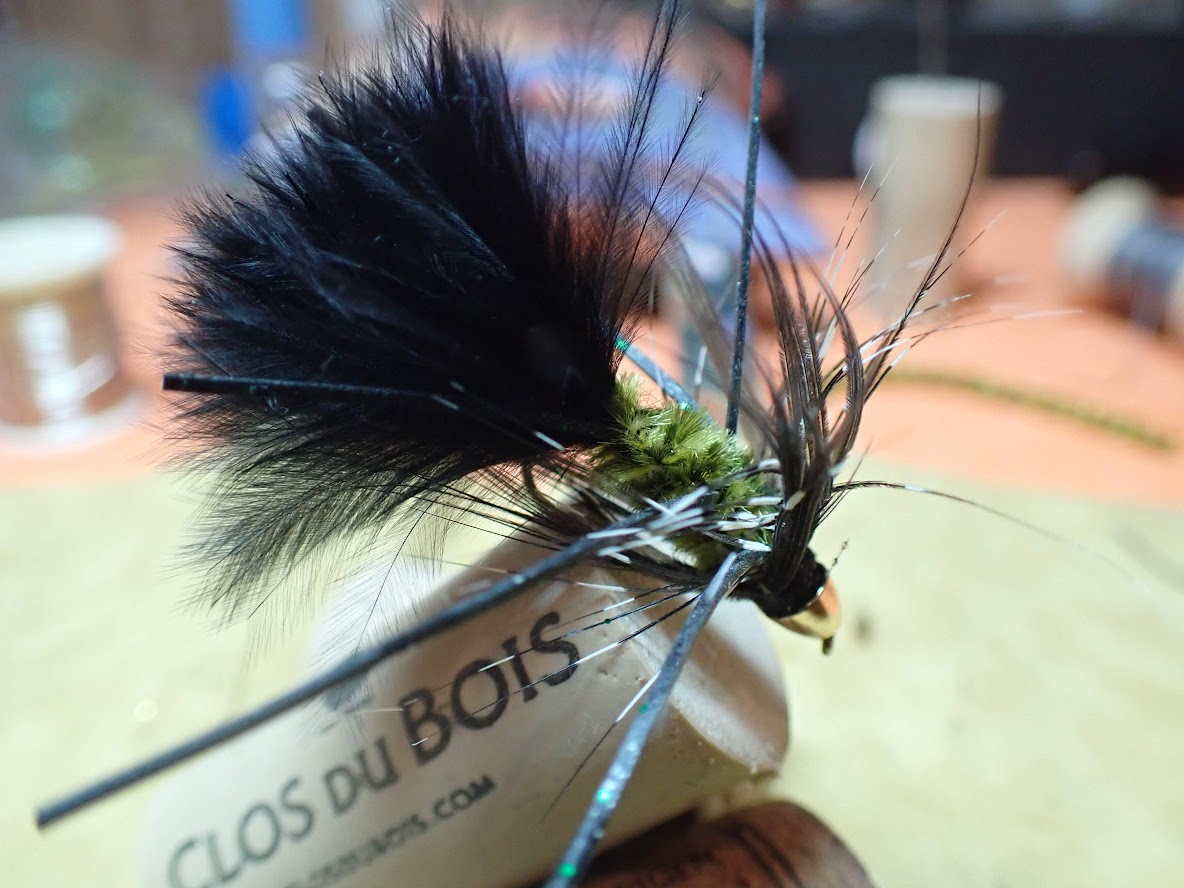
Burrowing Nymph
The nymphs have long relatively narrow bodies and, thus, appear to be excellent imitations of the burrowing category of mayflies. Various eastern drakes fall into this category. I’m not sure if there is a brown burrowing nymph in the west, but I suspect the X leg could also replicate a stonefly, as it tumbles through deep pockets and runs in mountain environments. I will certainly allot the X leg some time on the end of my line. In a worst case scenario it should serve as a nice heavy top nymph to sink a dry/dropper rig deep on tumbling high elevation creeks. The long tapered body, undulating marabou tail, gold rib, vibrant legs, and gold bead are all attractive trigger elements of the X leg nymph.

Anxious to Test